Deploying a Vercel-based short link service
A Chinese version of this page is available here
🎉 Features
- No server
- Automatically prevents generation of duplicate short URLs
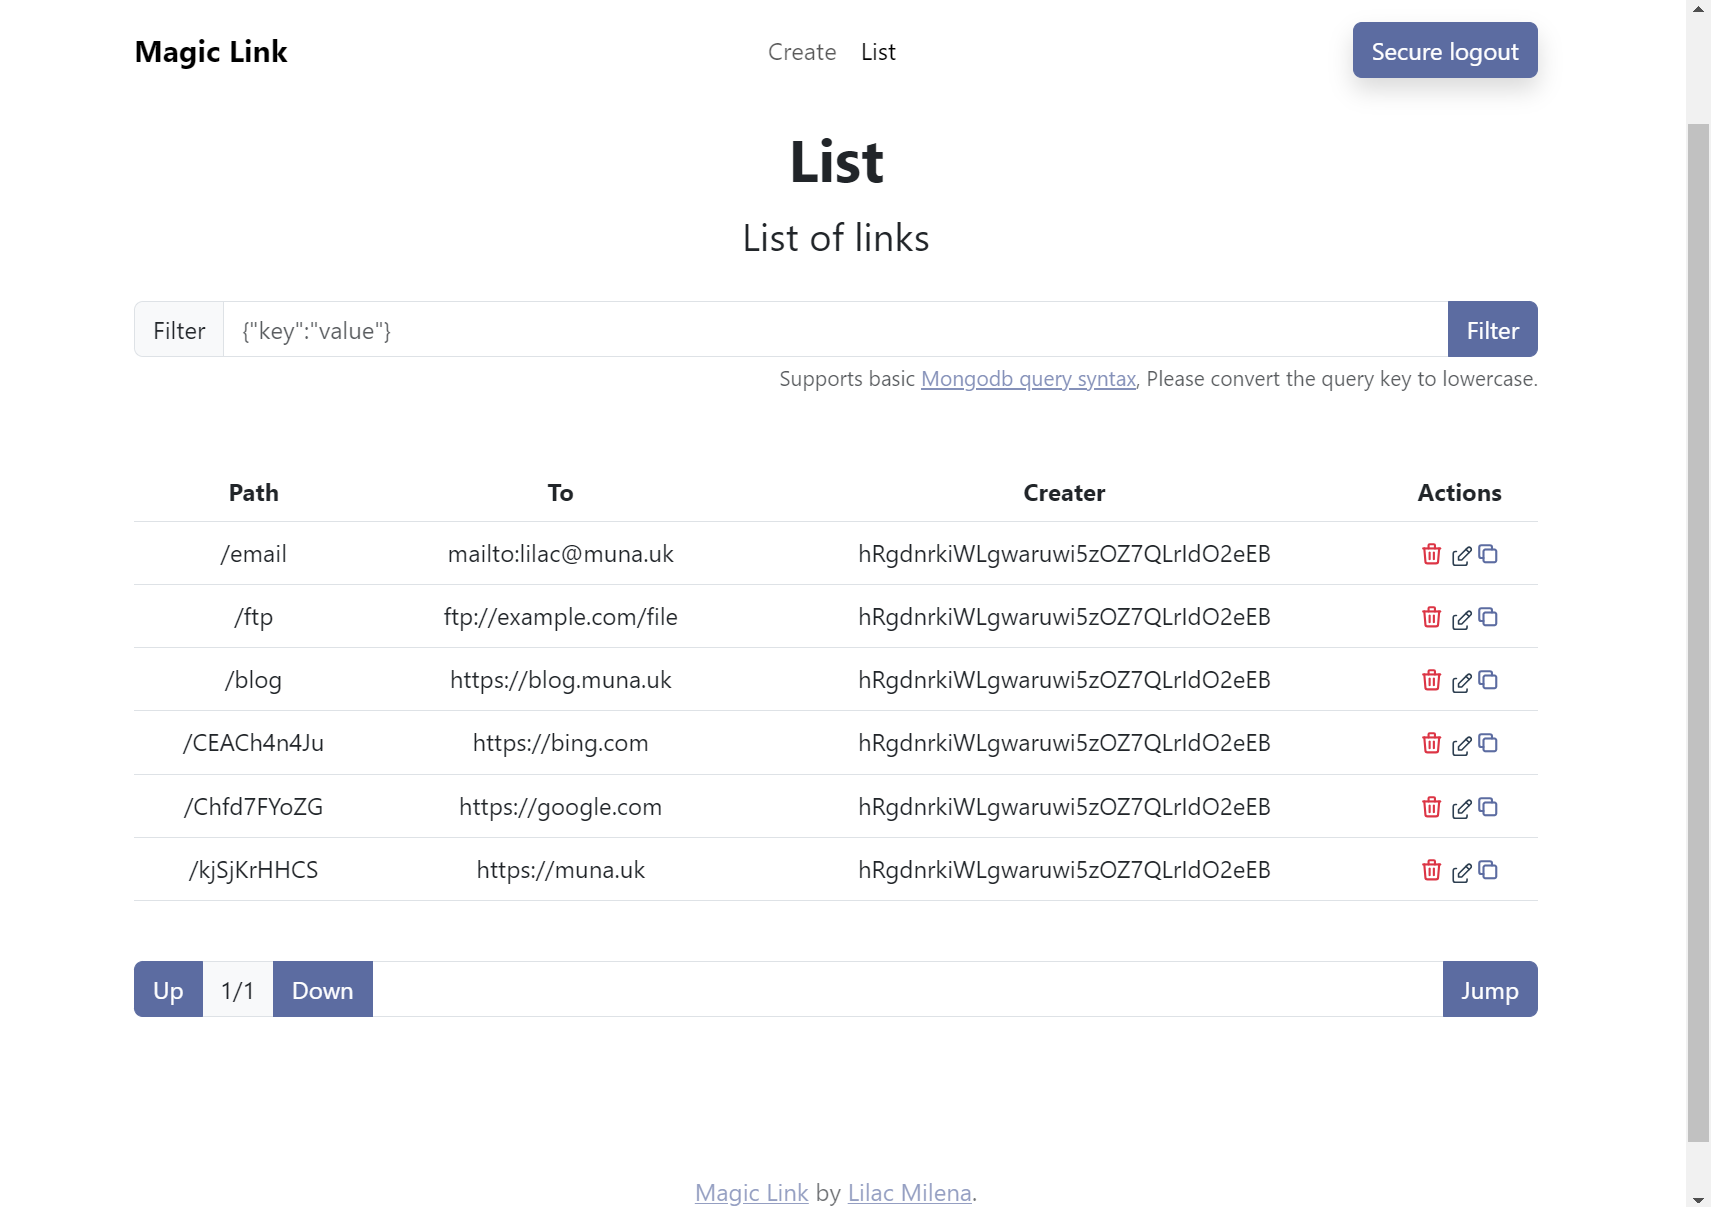
- Background administration page
- Add Short URL
- Short URL List
- Delete Short URLs
- Customize URL
- Fast access to third-party authentication systems
- API
- Can be used for secondary development
- Database Cache
😎Demo
Test link: https://go.muna.uk/eXw8n
📃 API Documentation
🎄 Deployment
Part 1
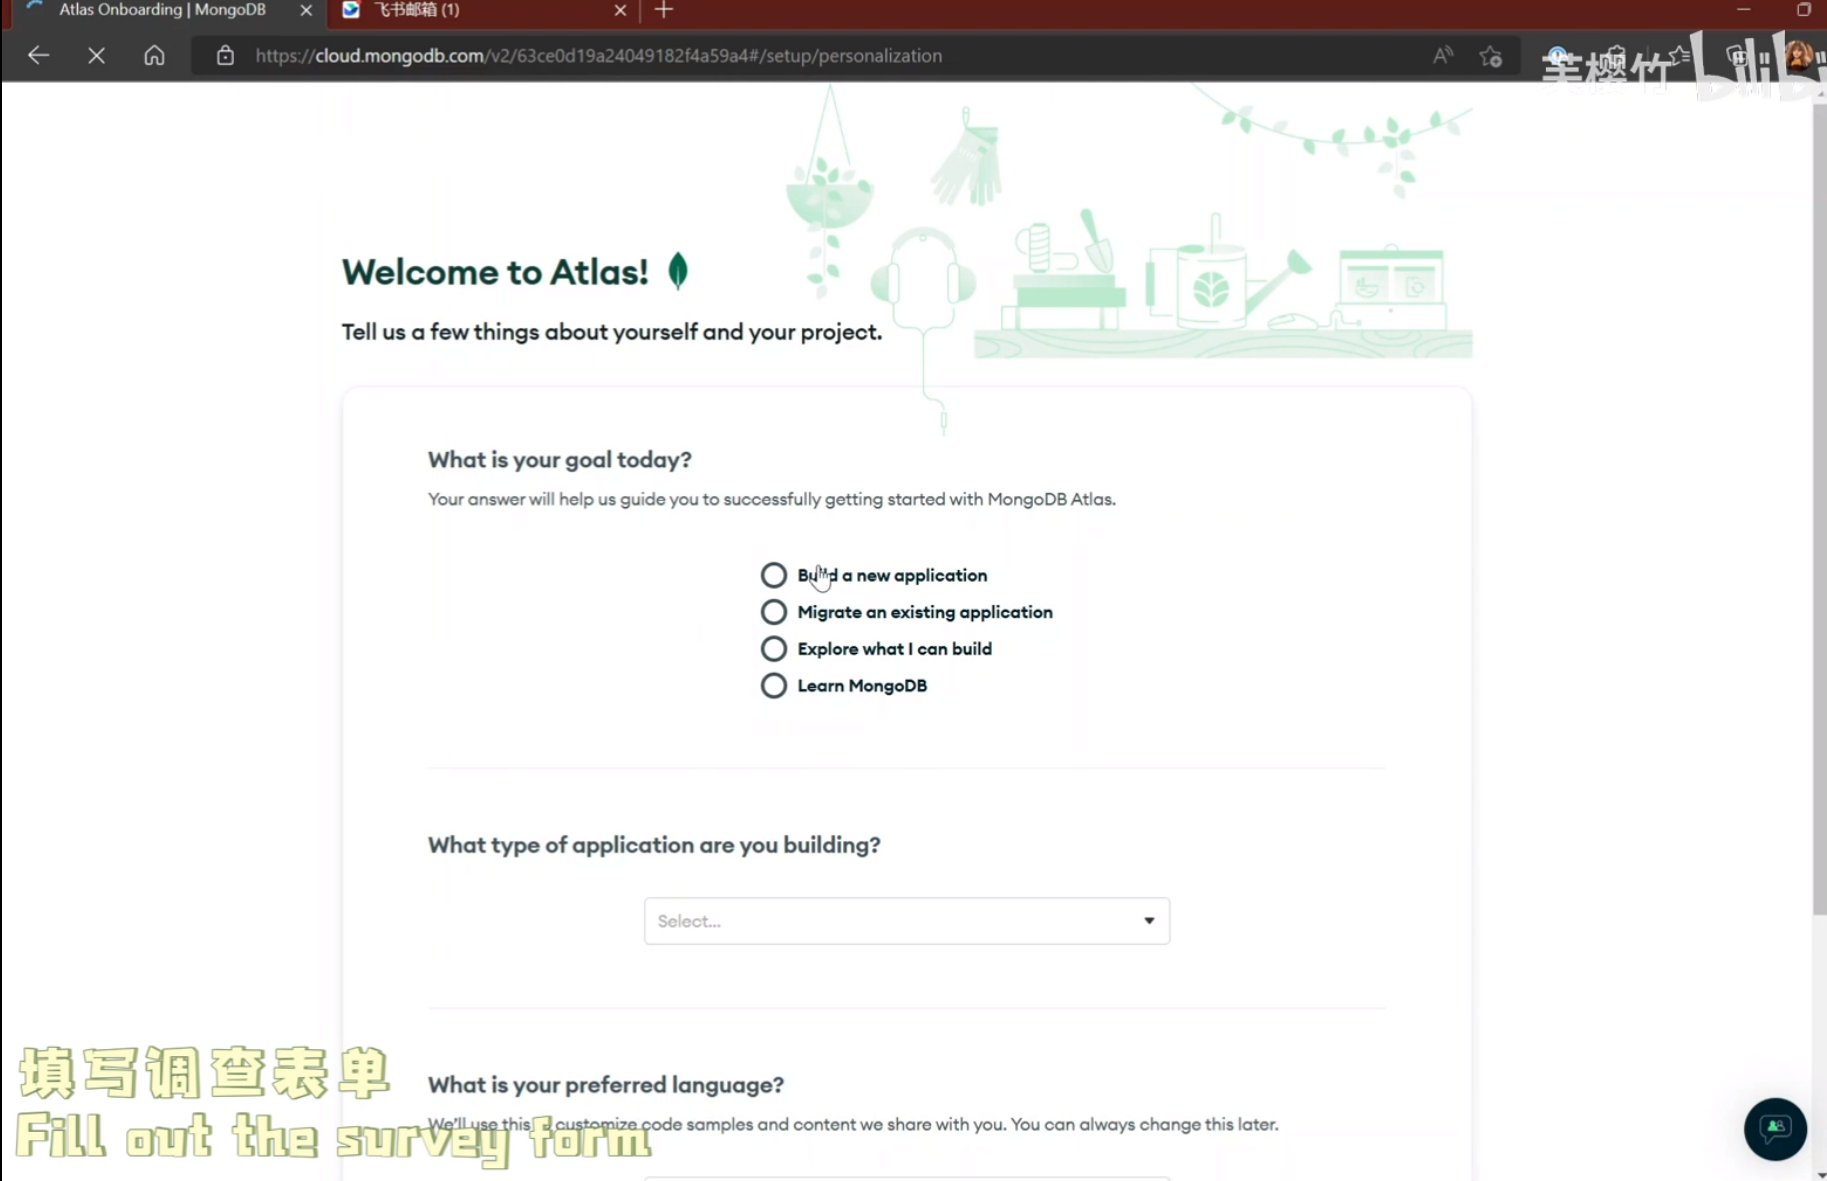
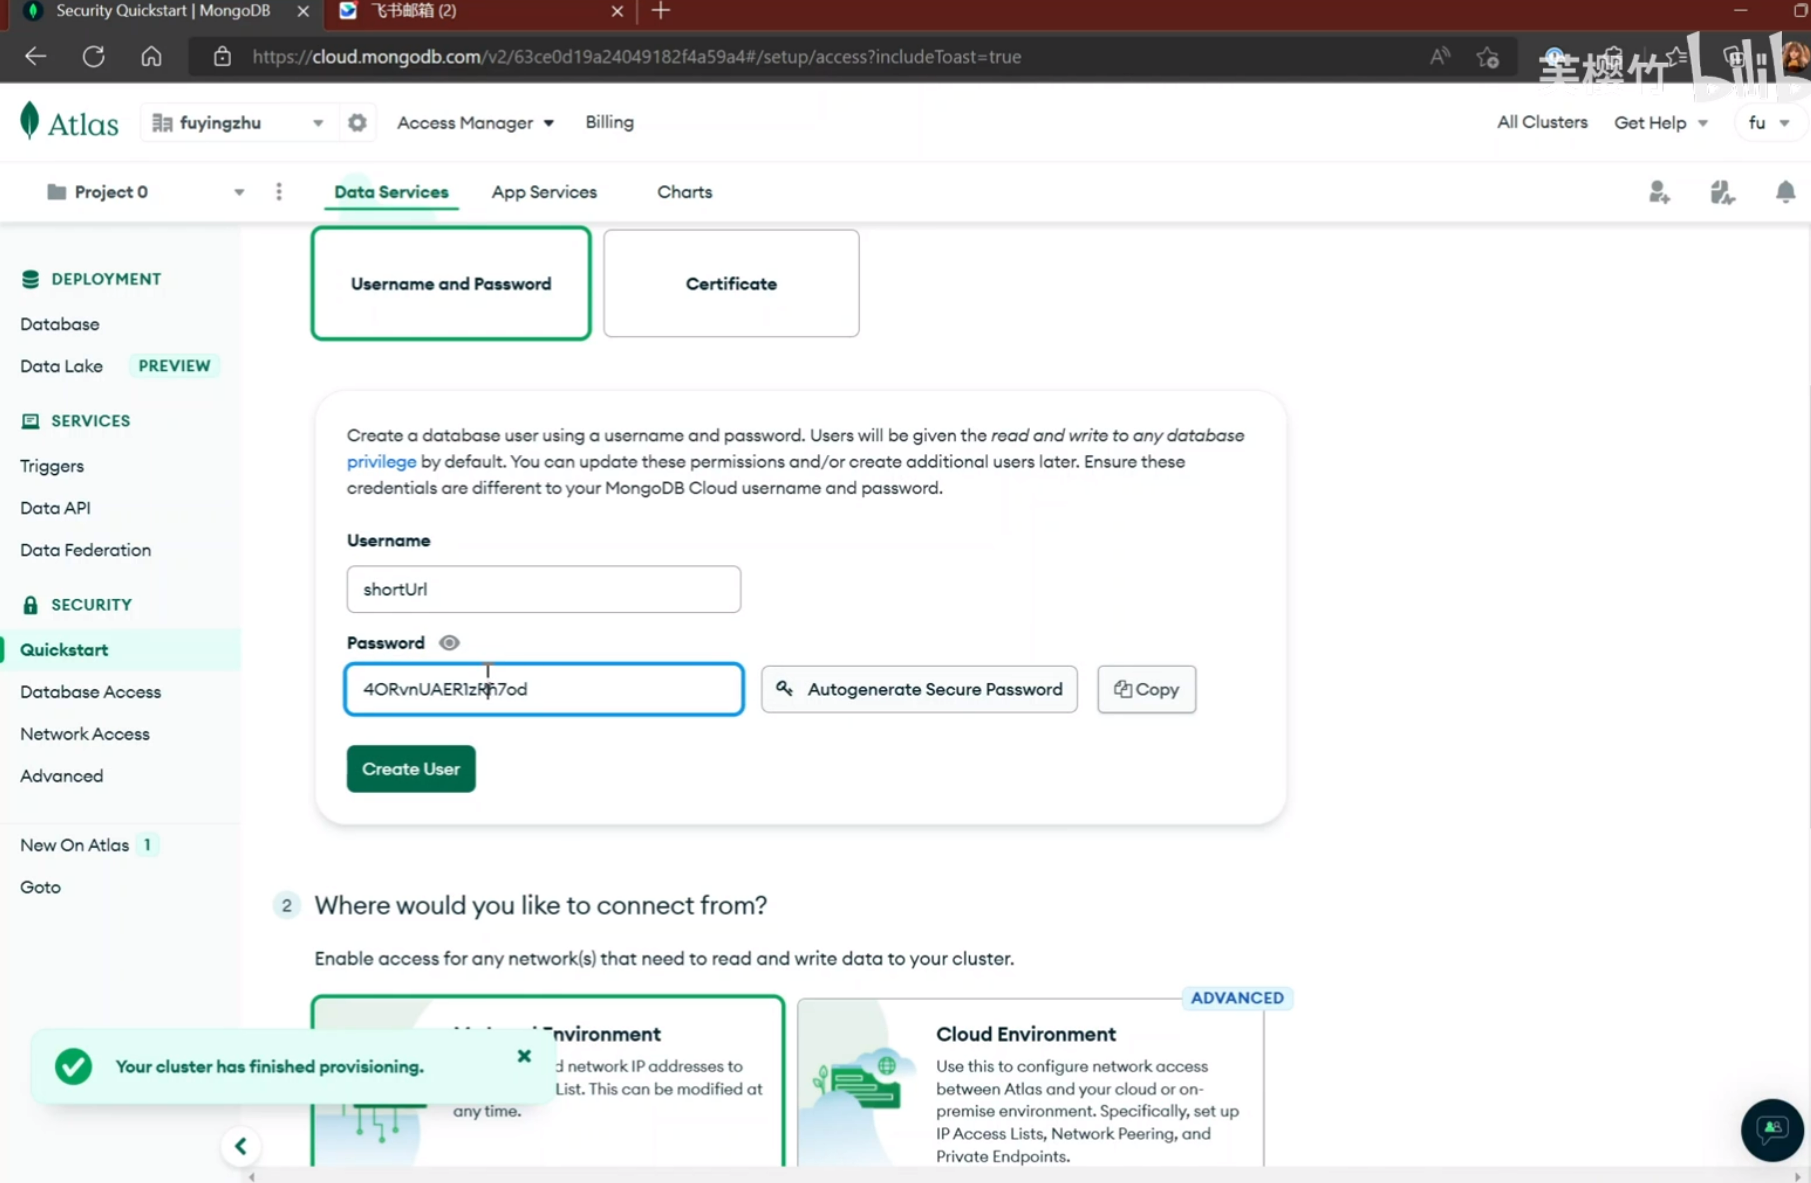
Claiming the Mongodb database Since the short link service needs to store URL data, you need to request a free Mongodb database from Mongodb.com for data storage.
In this section, you will get a Mongodb url, please save it and we will use it in the next section.
Open https://account.mongodb.com/account/register to register an account
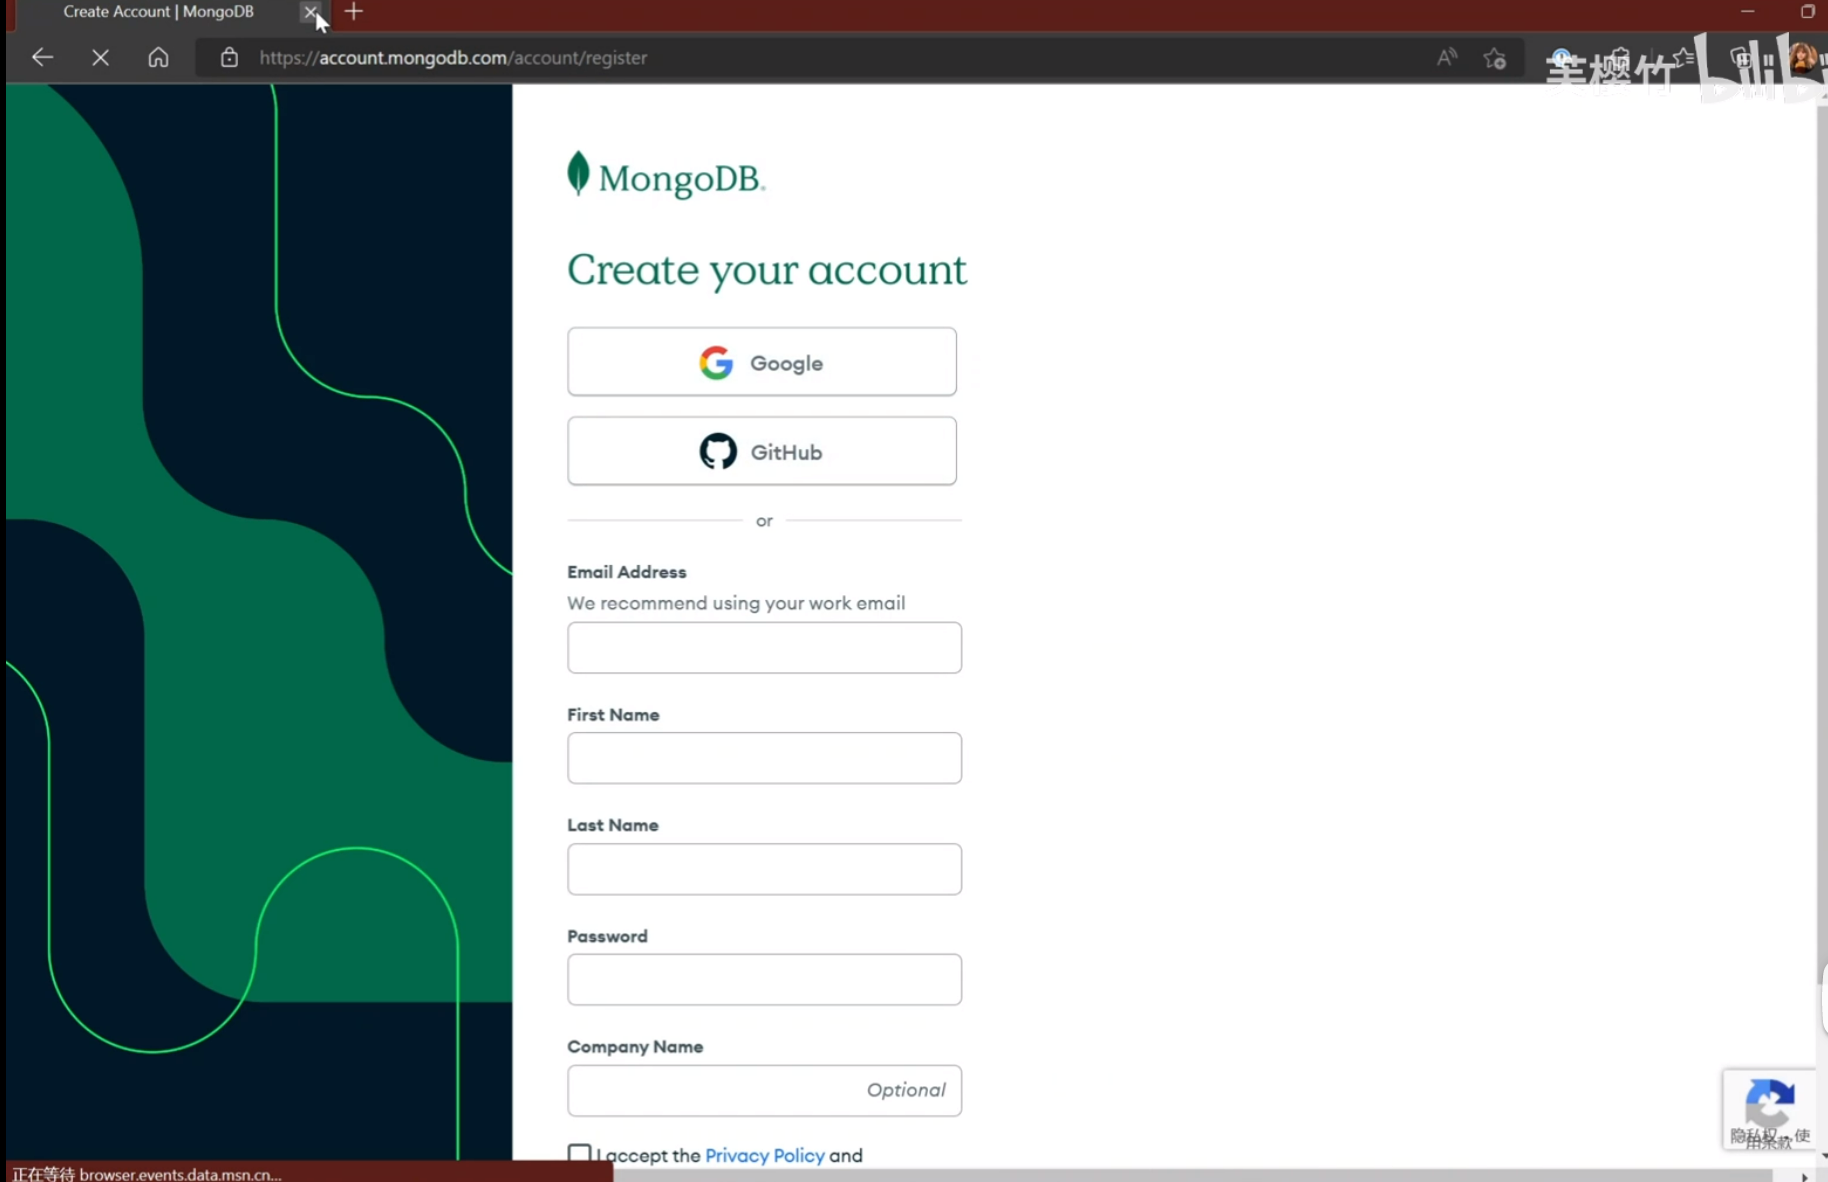

Create a database account and record the account password
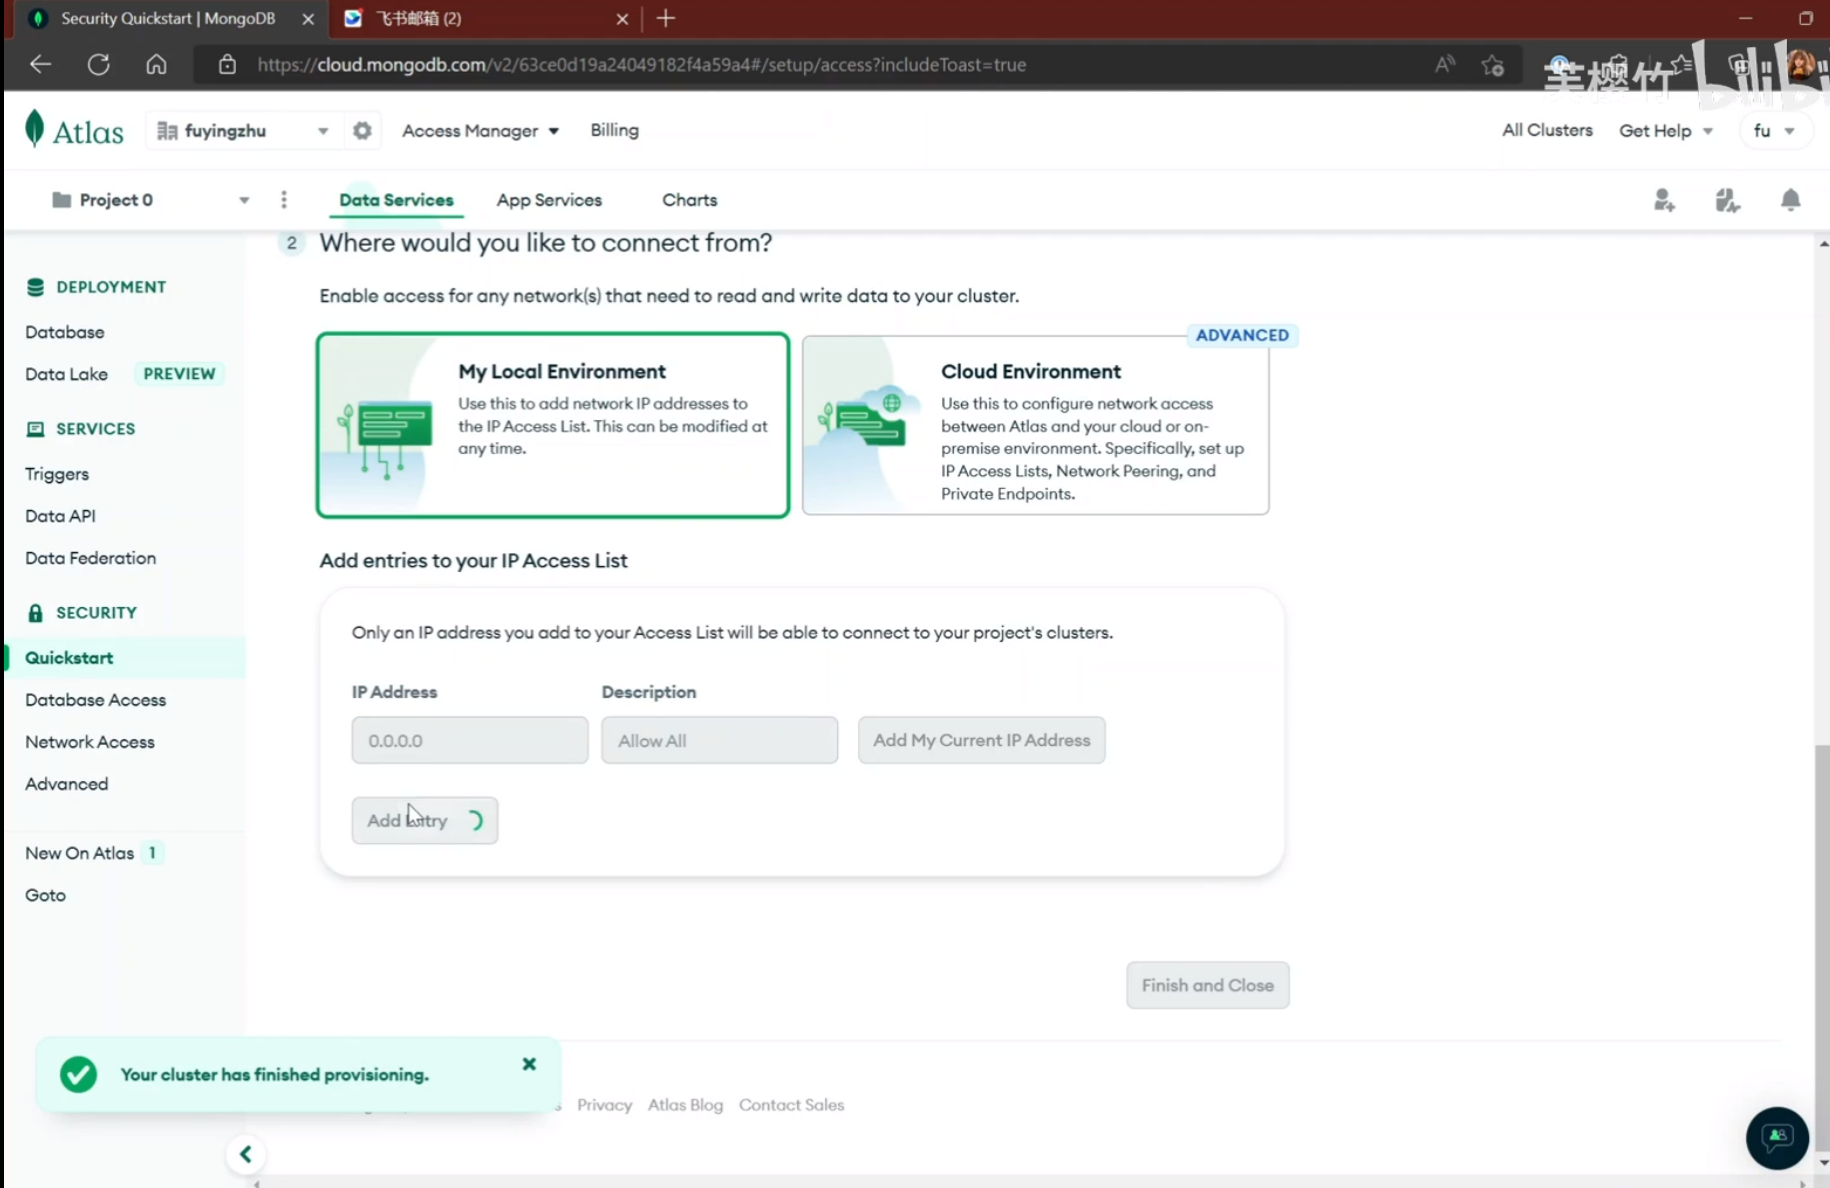
Authorize all IP connections
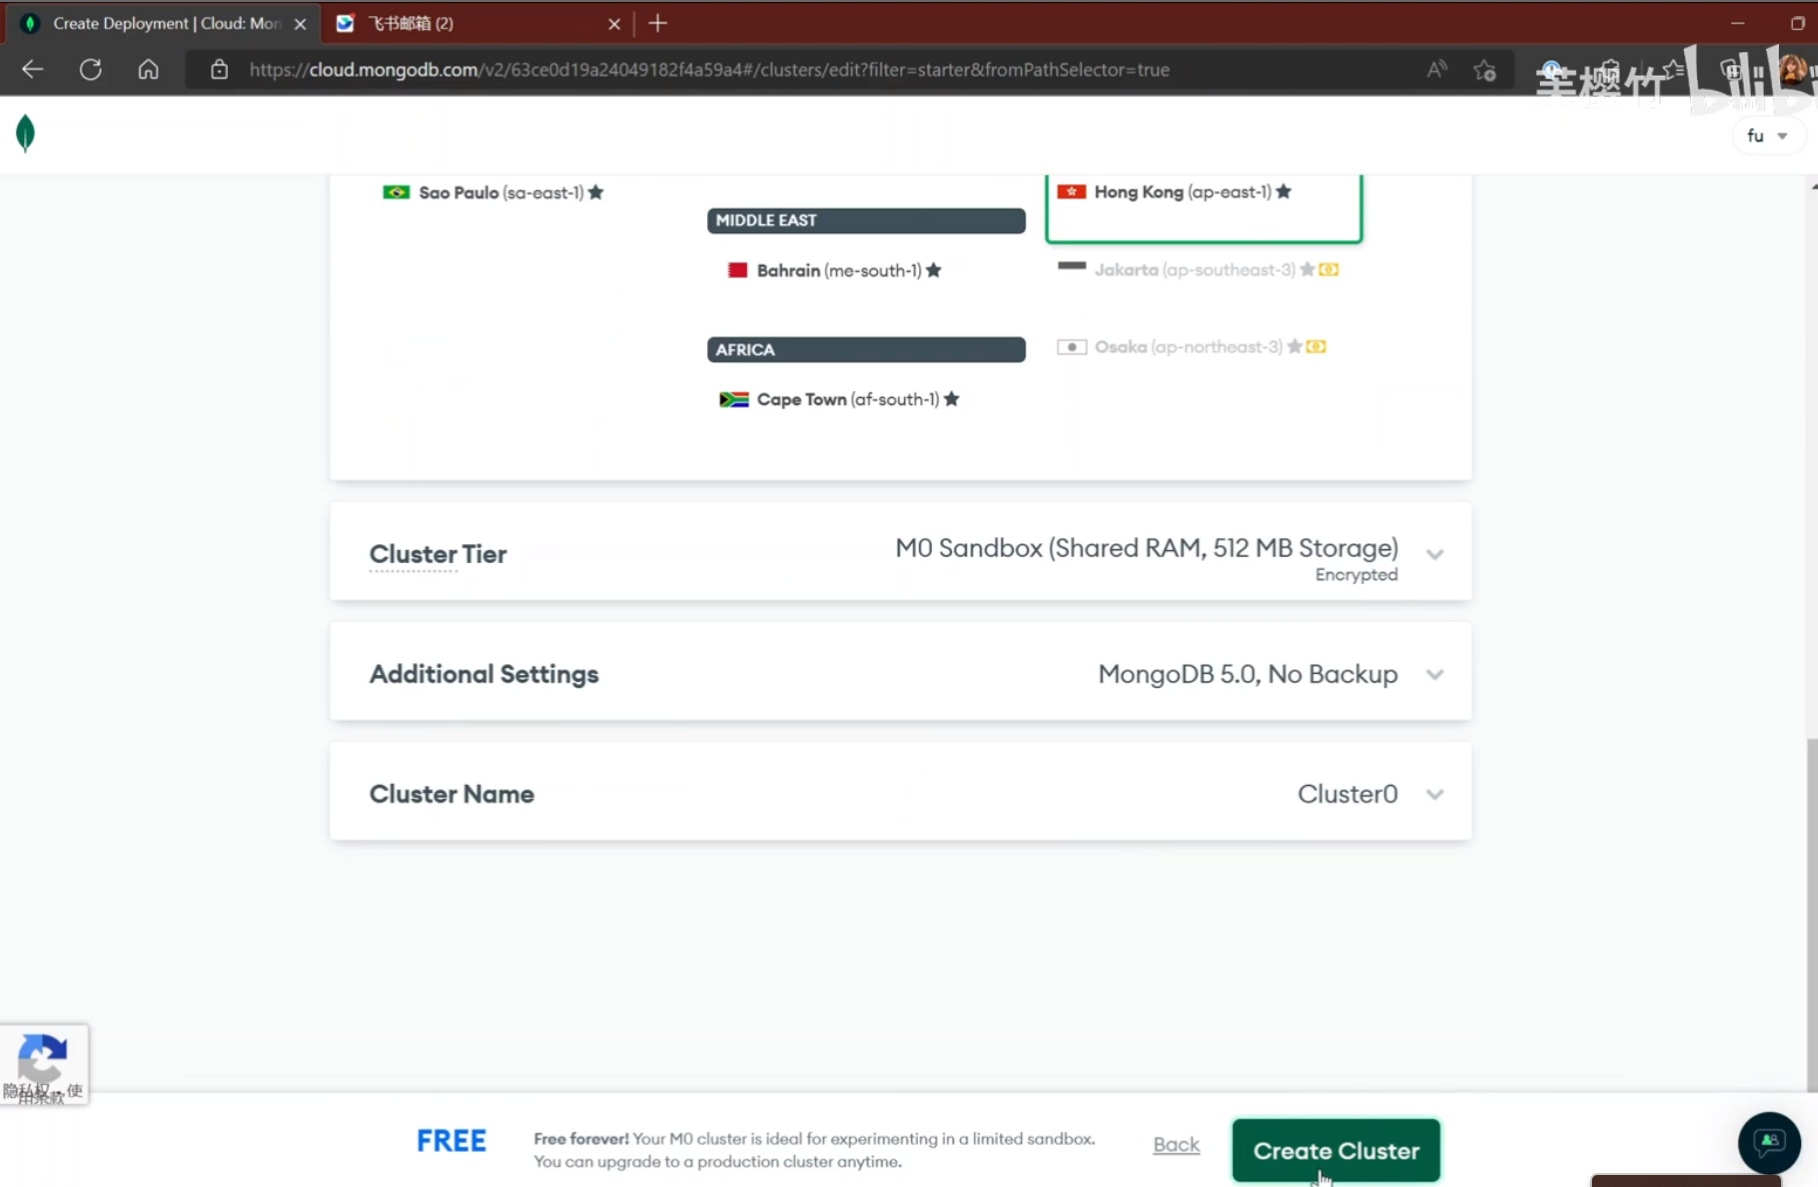
Create
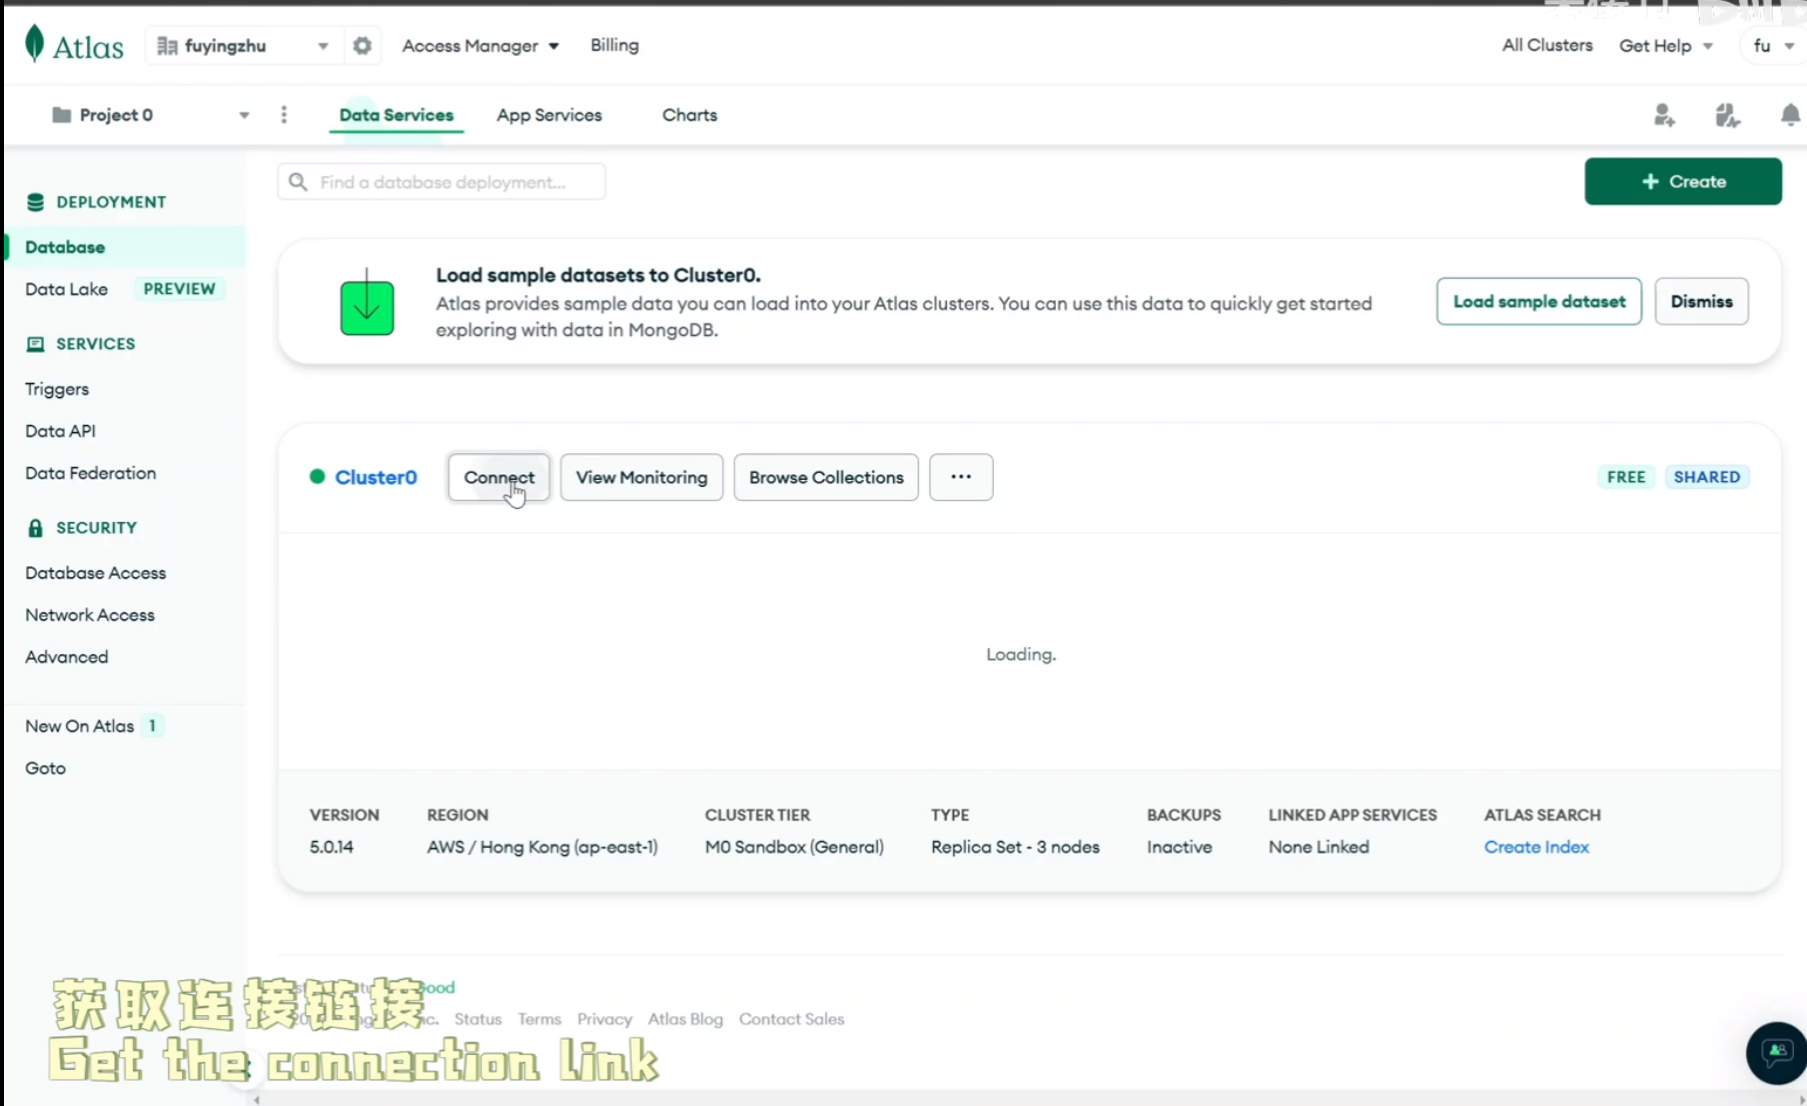
Click this option
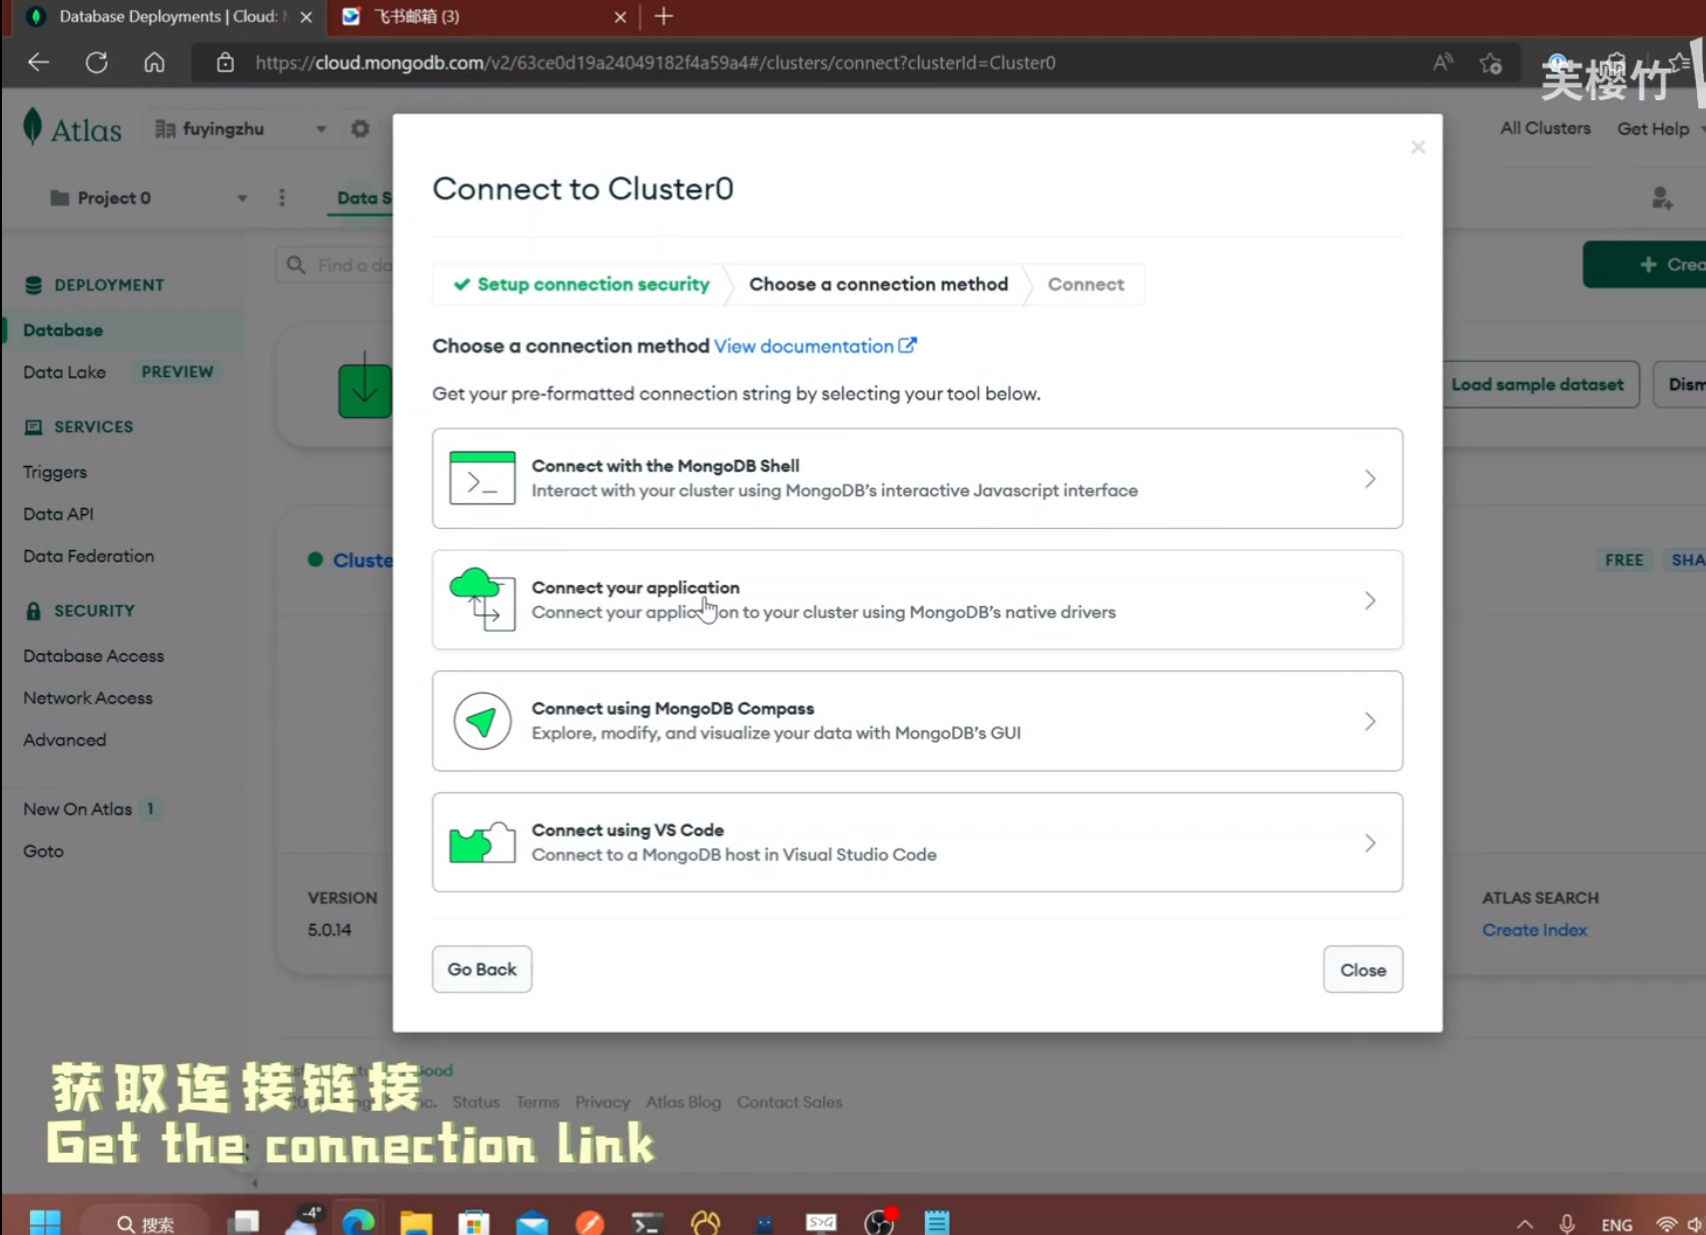
Copy the link URL
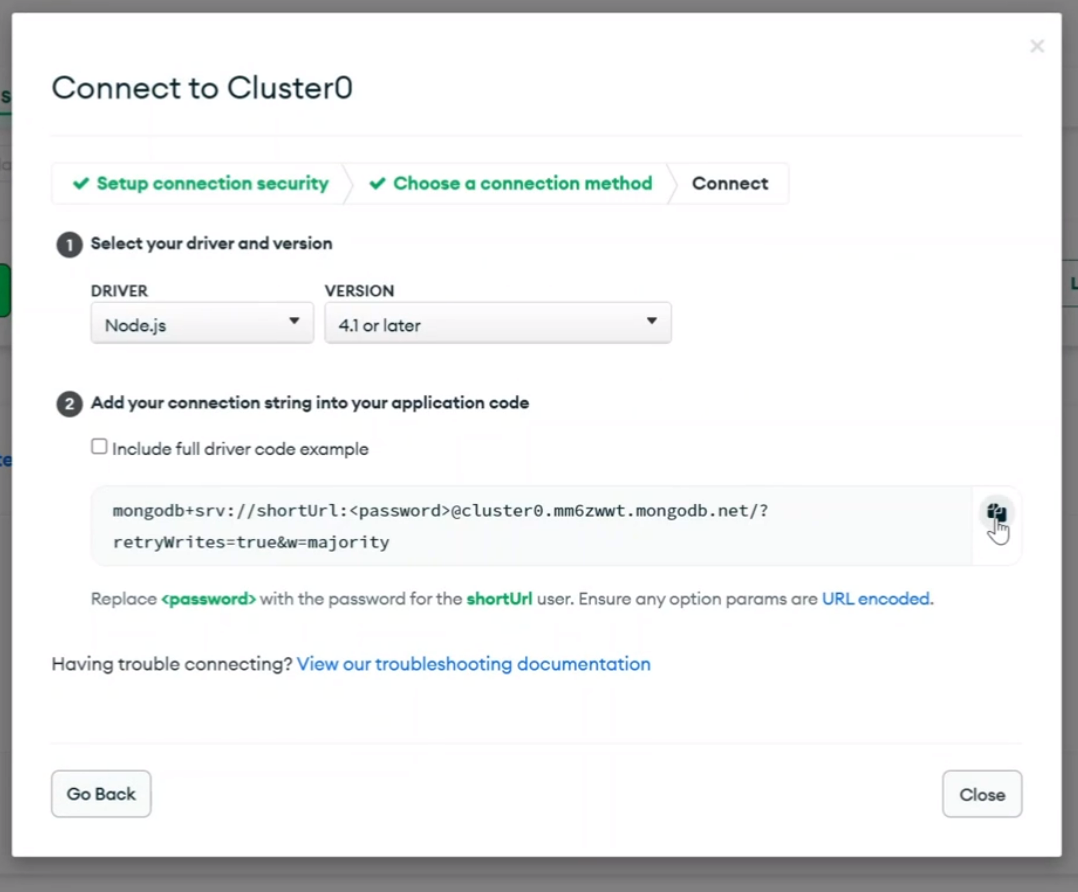
Replace “< password >” in the URL with the password you just set.

Part 2
1. Deploy the repository to Vercel:
You need to click the button below to go to the Vercel deployment page
If you have not logged in or registered with Vercel, please follow the page to register/log in and then click the Deploy button above again.
If everything is ready, you will see the following page after clicking the button:
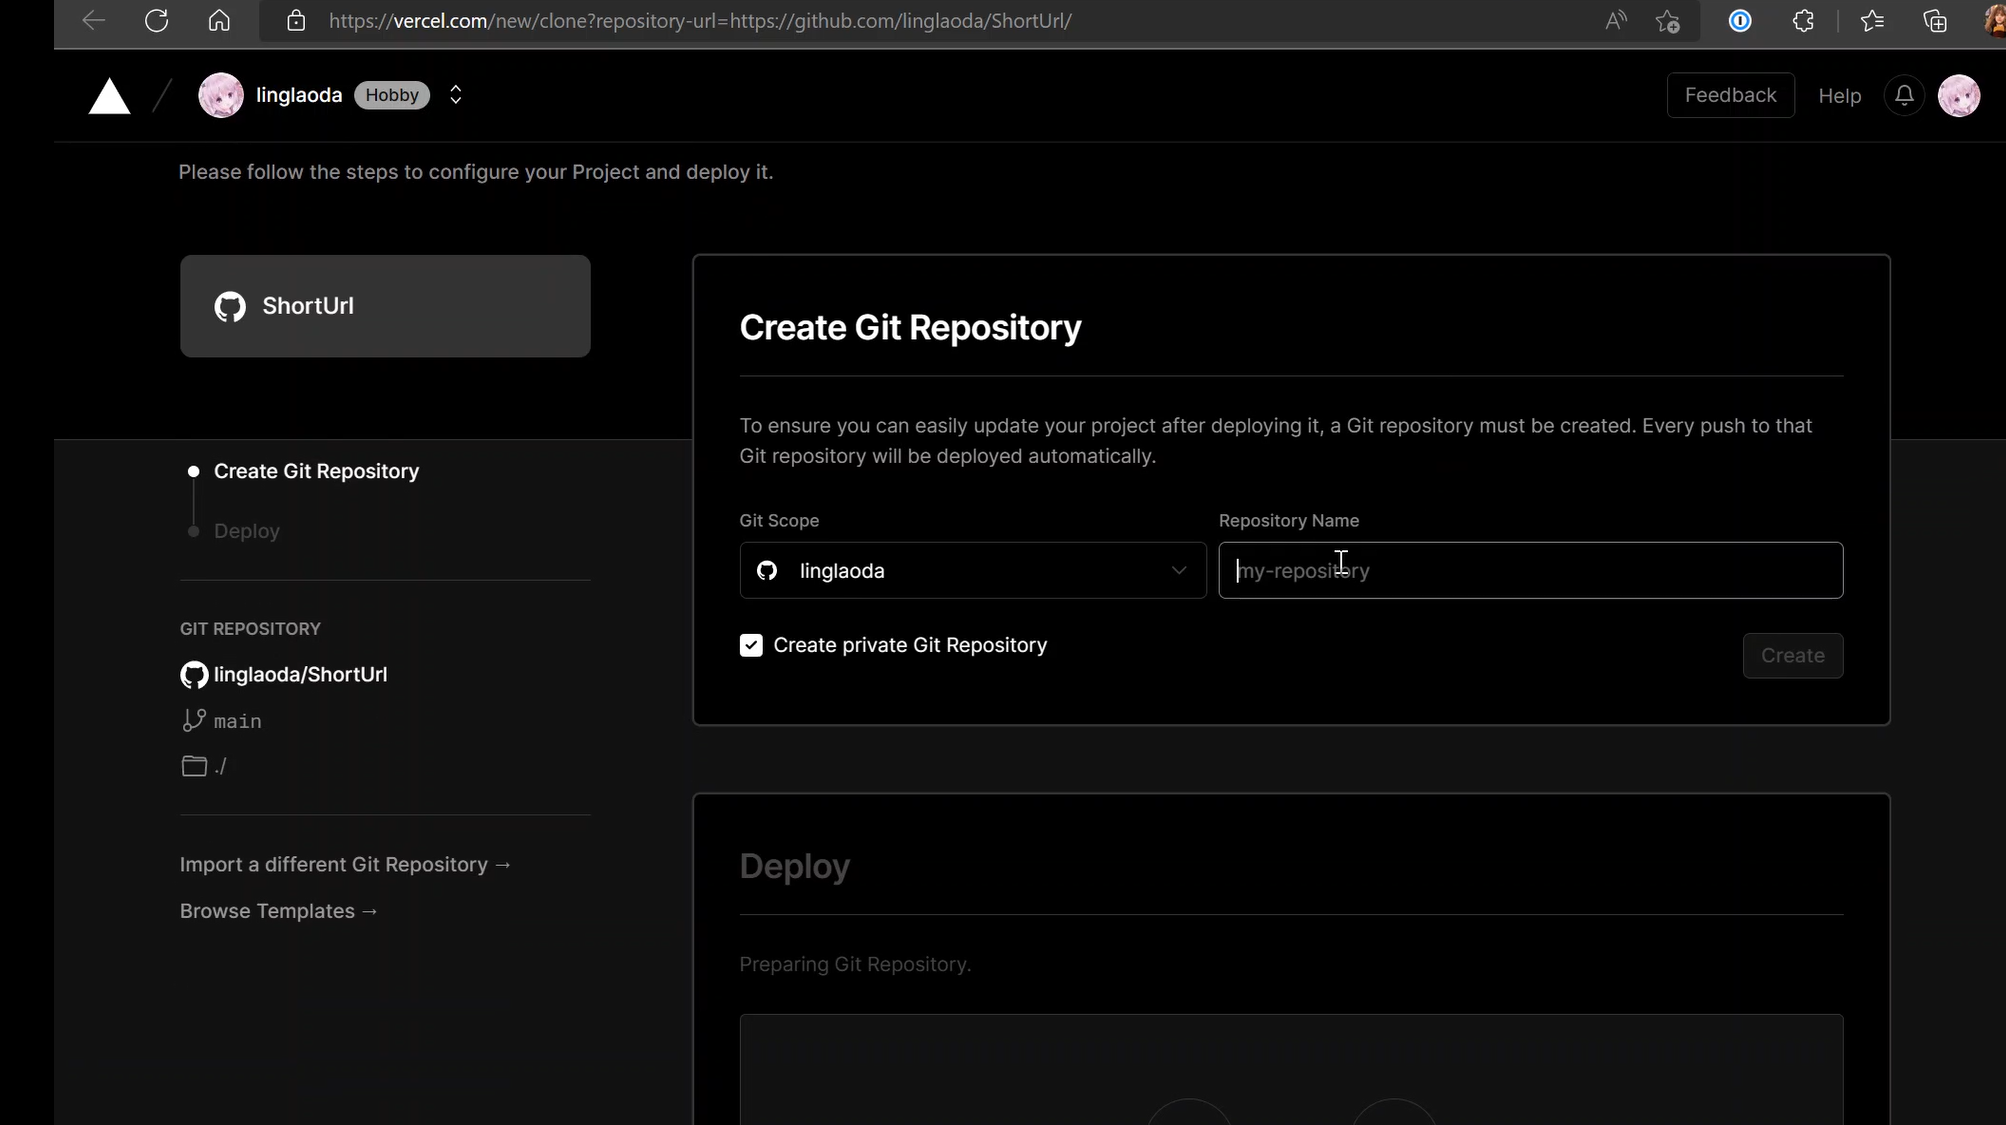
You need to give your project a name and fill in the “Repository Name” input box, click the “Create” button.

At this point Vercel will automatically create a repository with the same name in your Github and pull the code for the project.
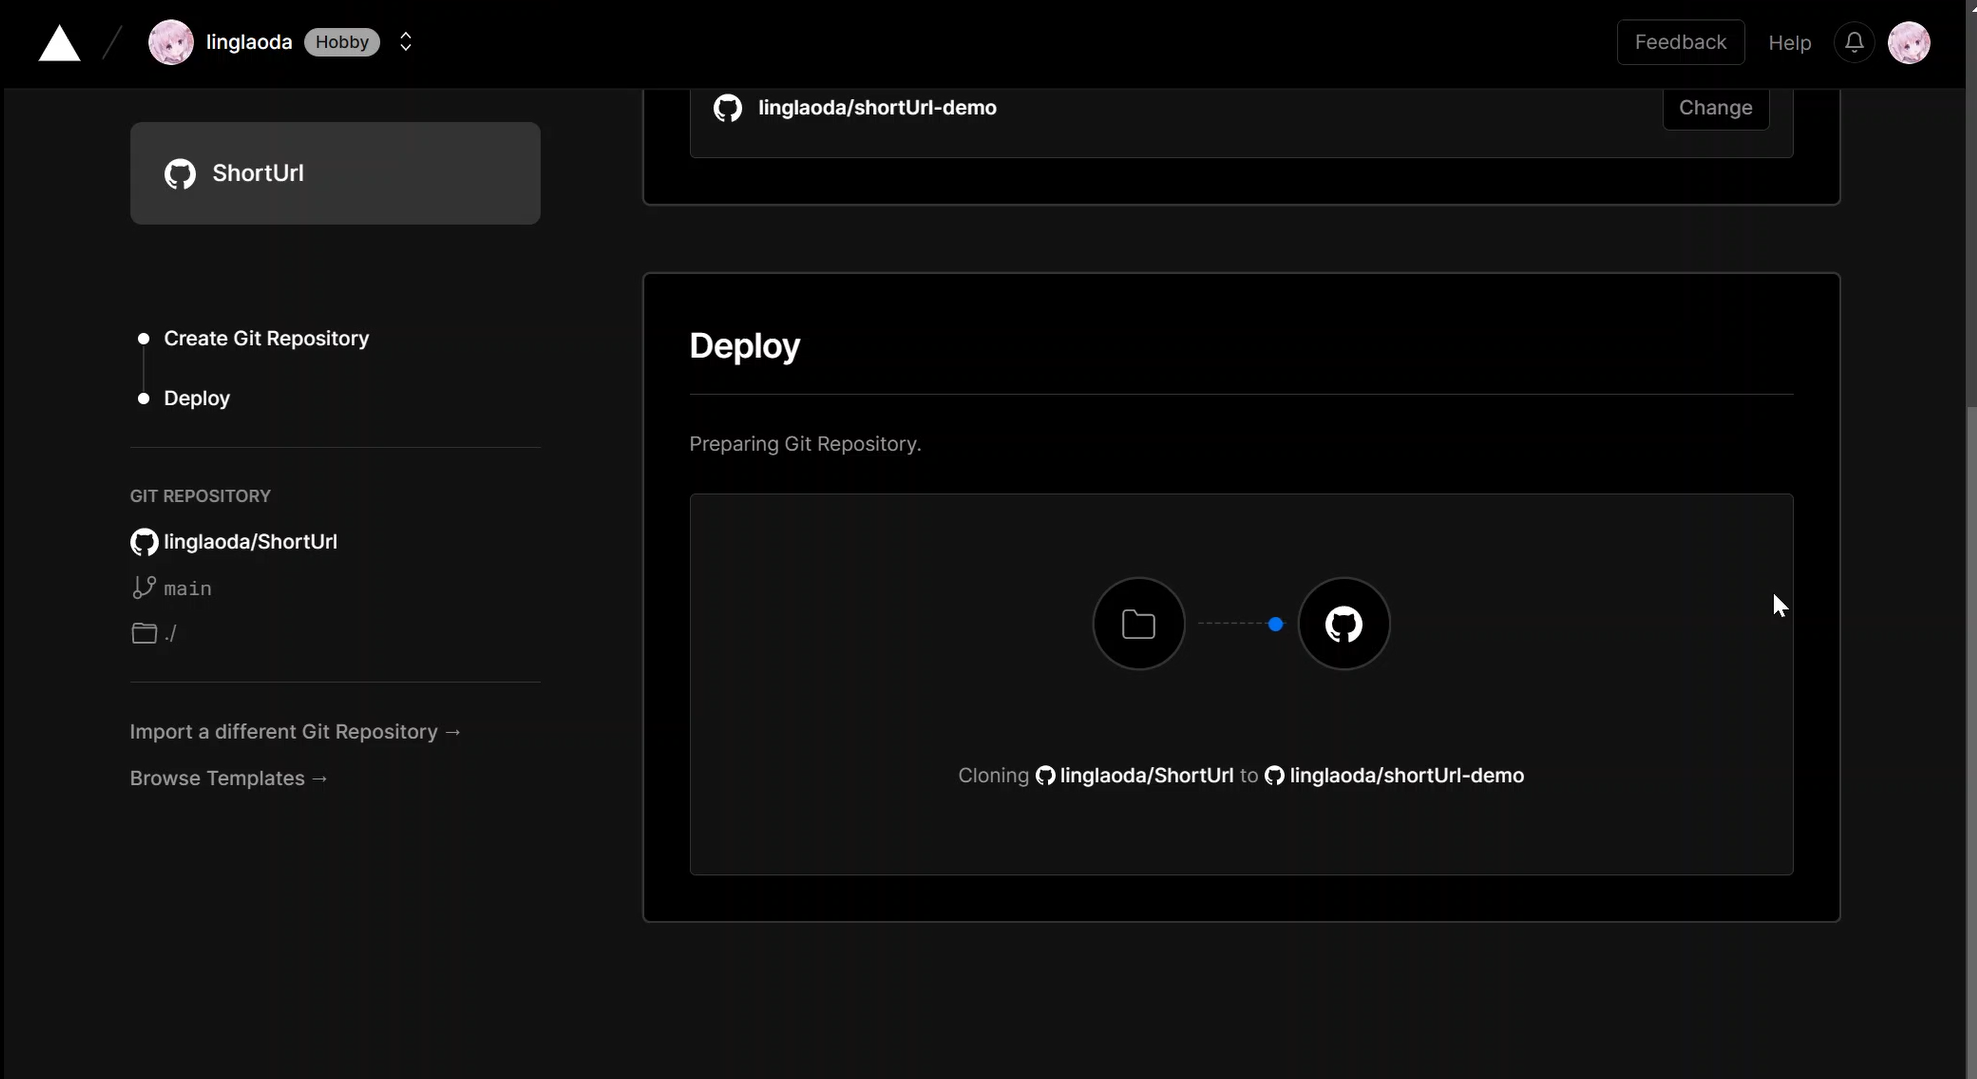
Once the pull is complete, Vercel will start the project deployment, which is also automated.
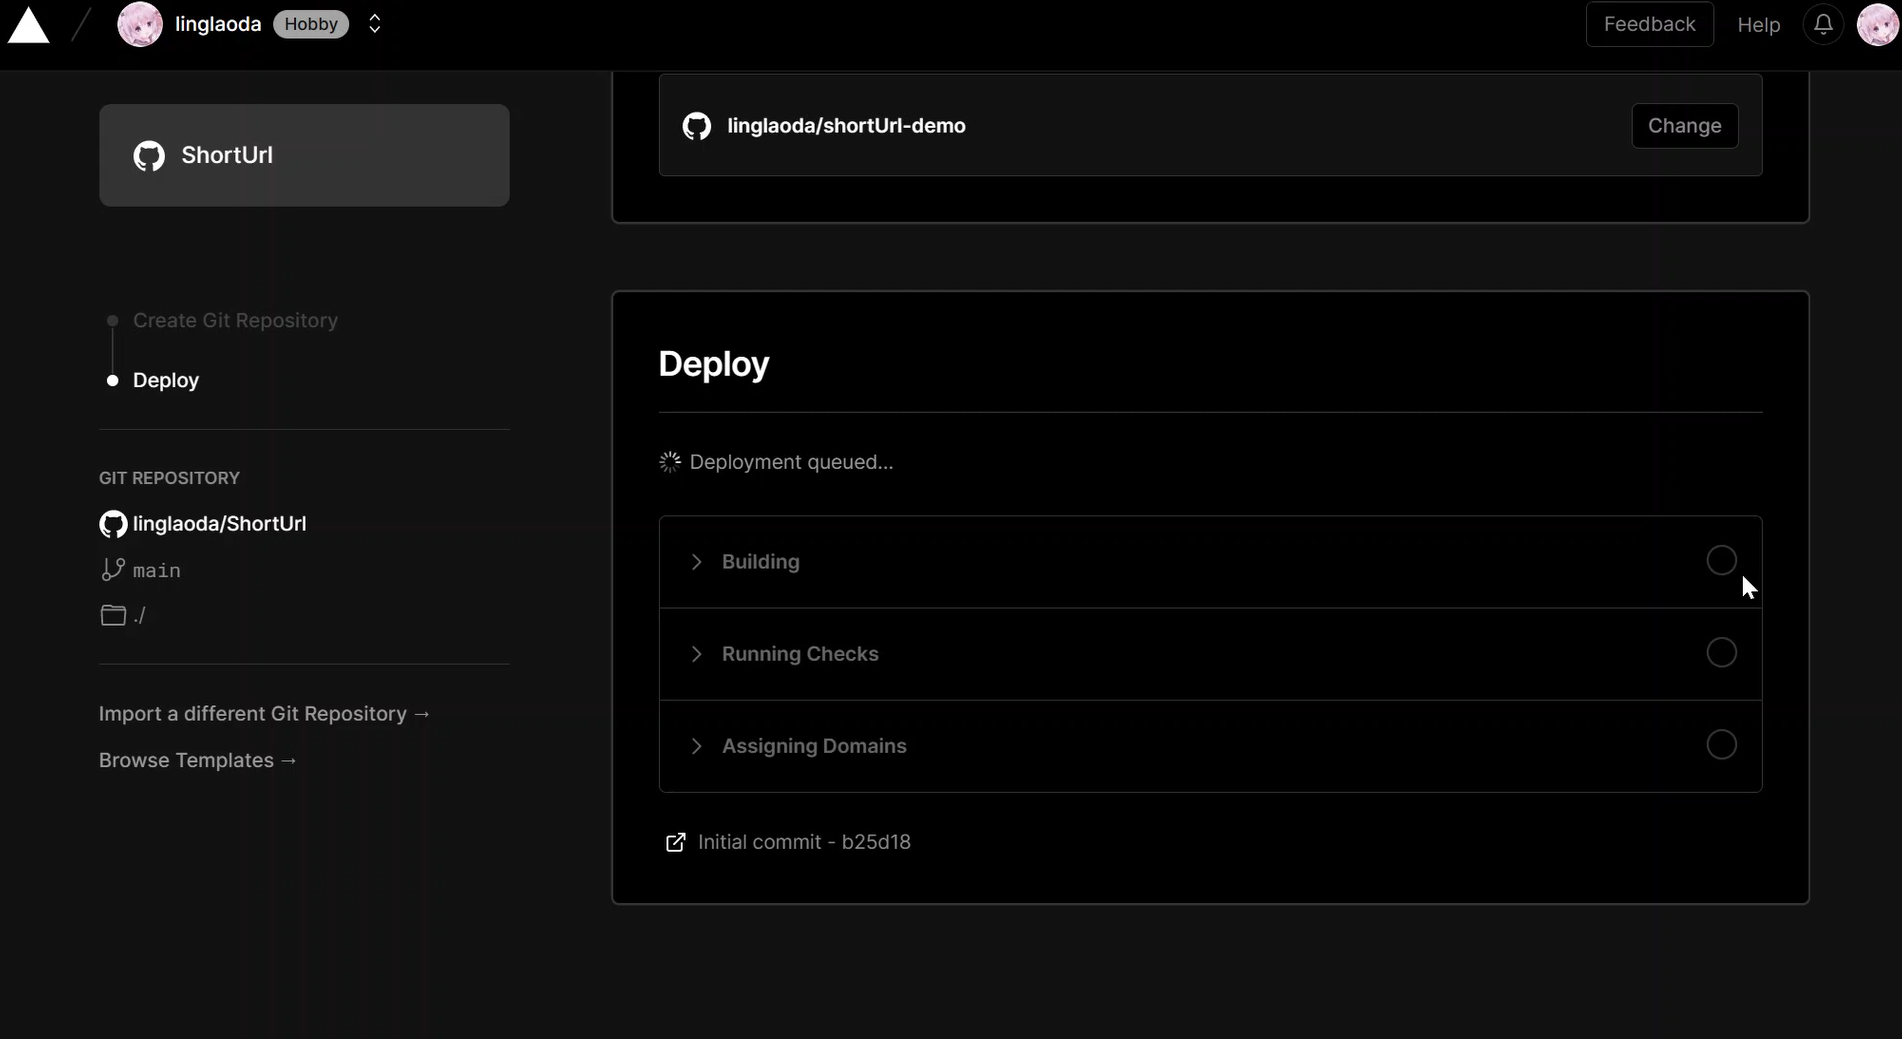
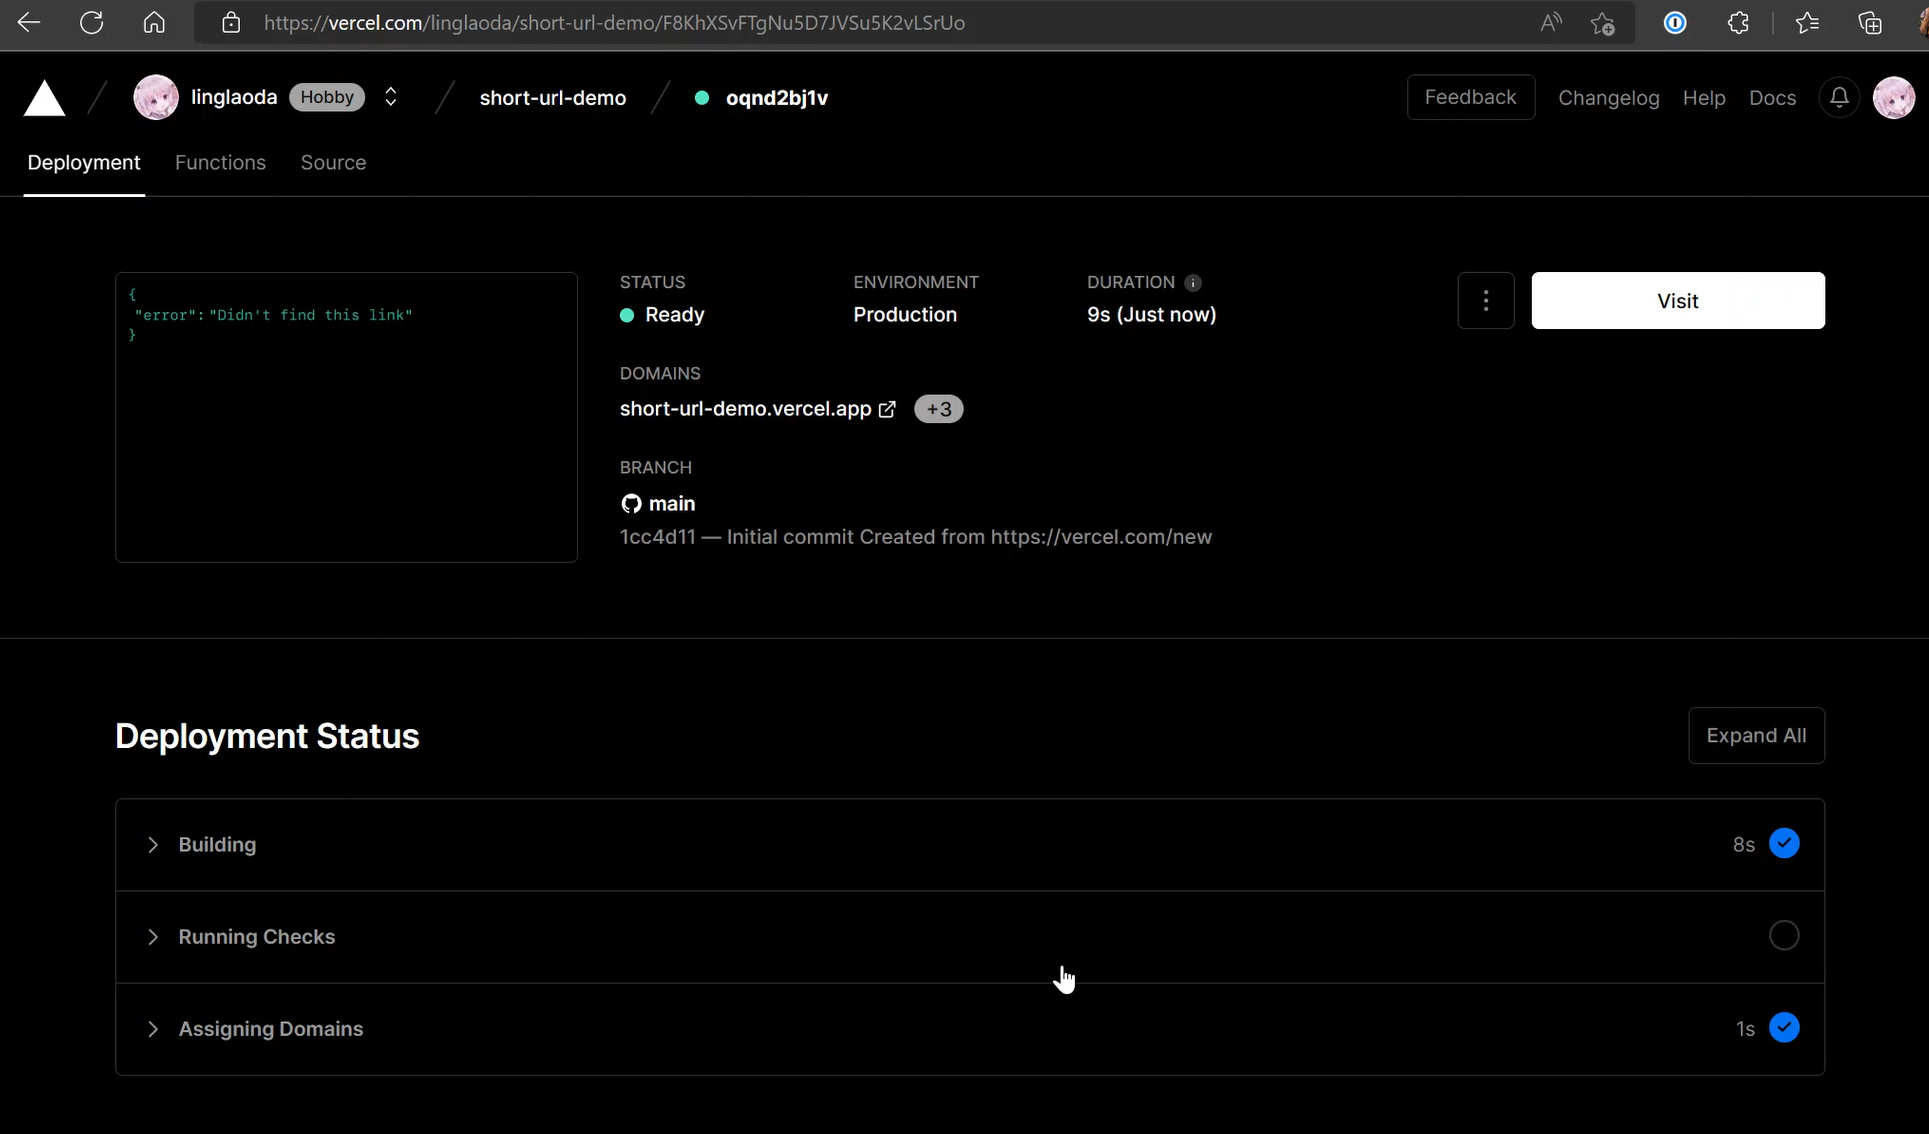
When you see this page, the project has been successfully deployed.
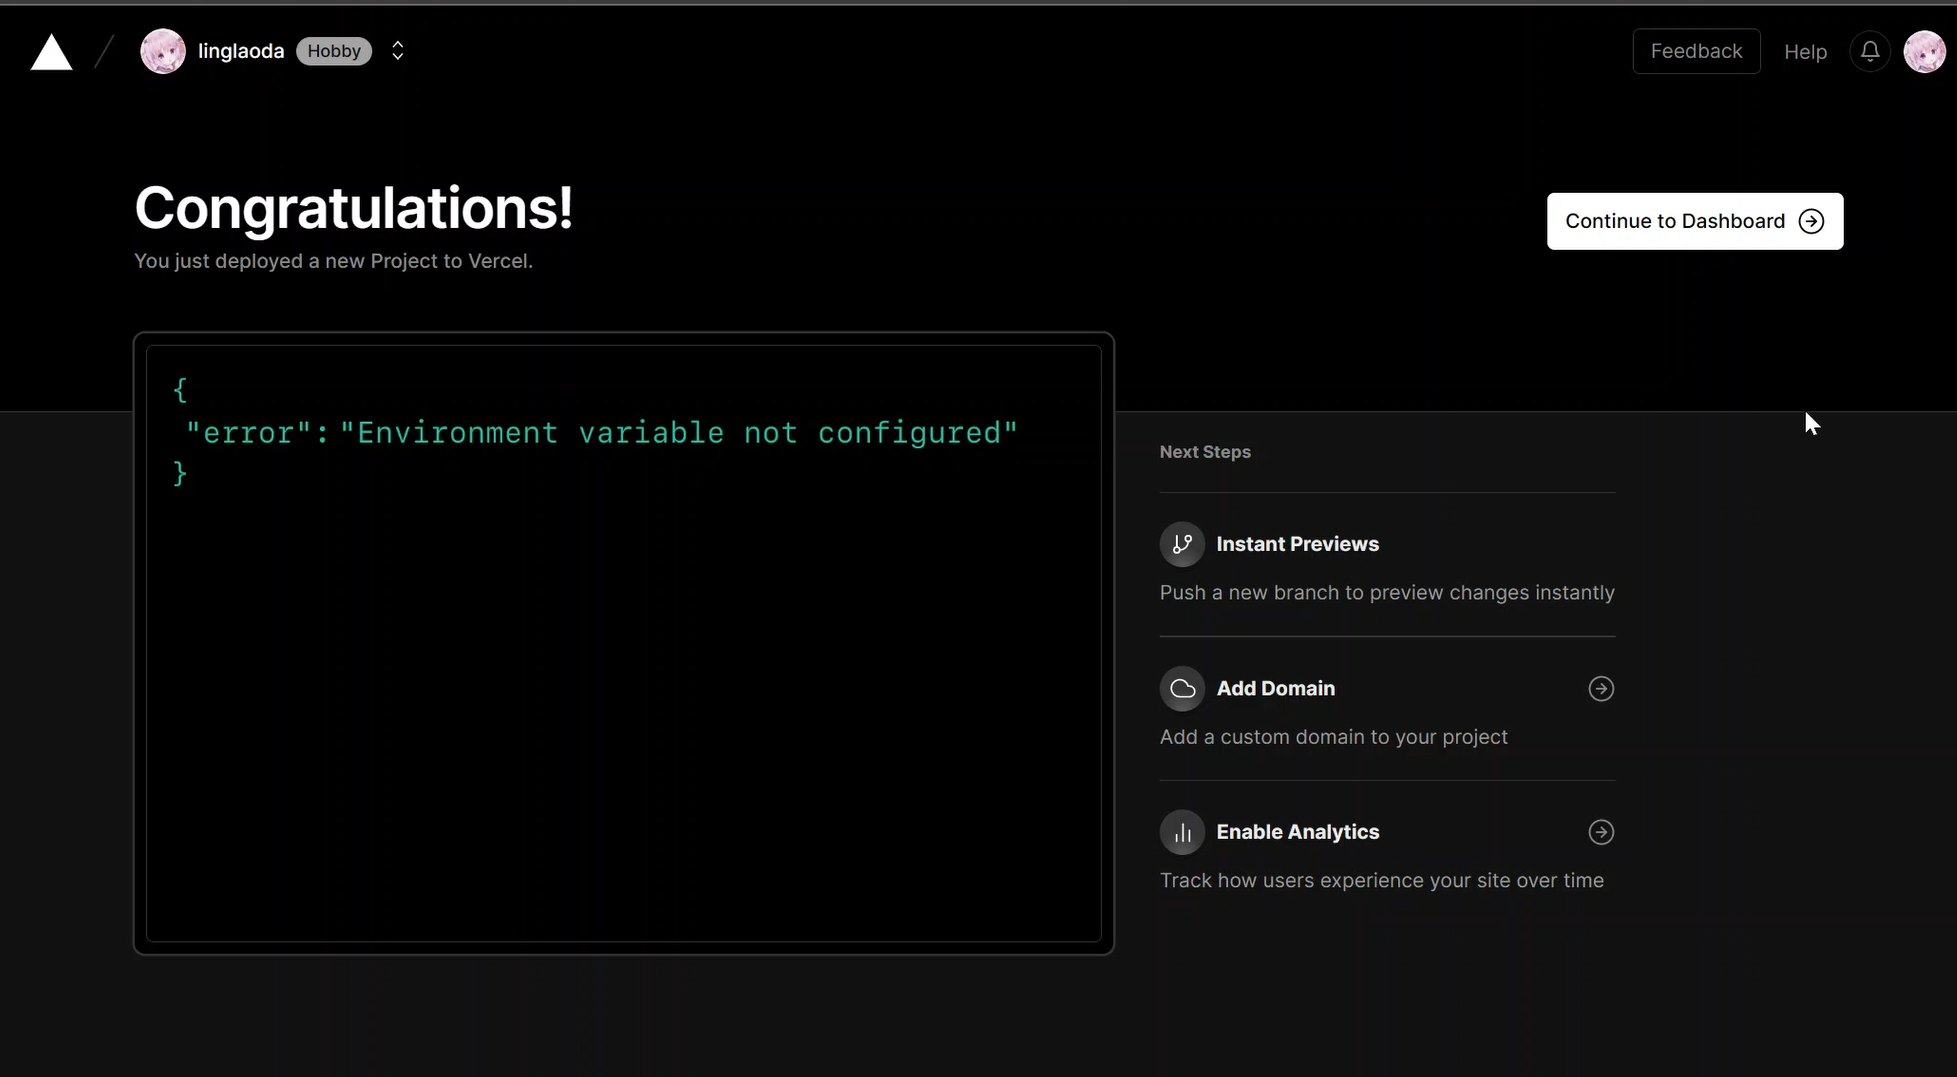
2.Add Environment Variables
Once the deployment is complete, you need to click the “Continue to Dashboard” button located in the upper right corner of the page.
If you accidentally close this page, you can simply open the program on the home page. On the new page, click the “Settings” button in the menu bar.
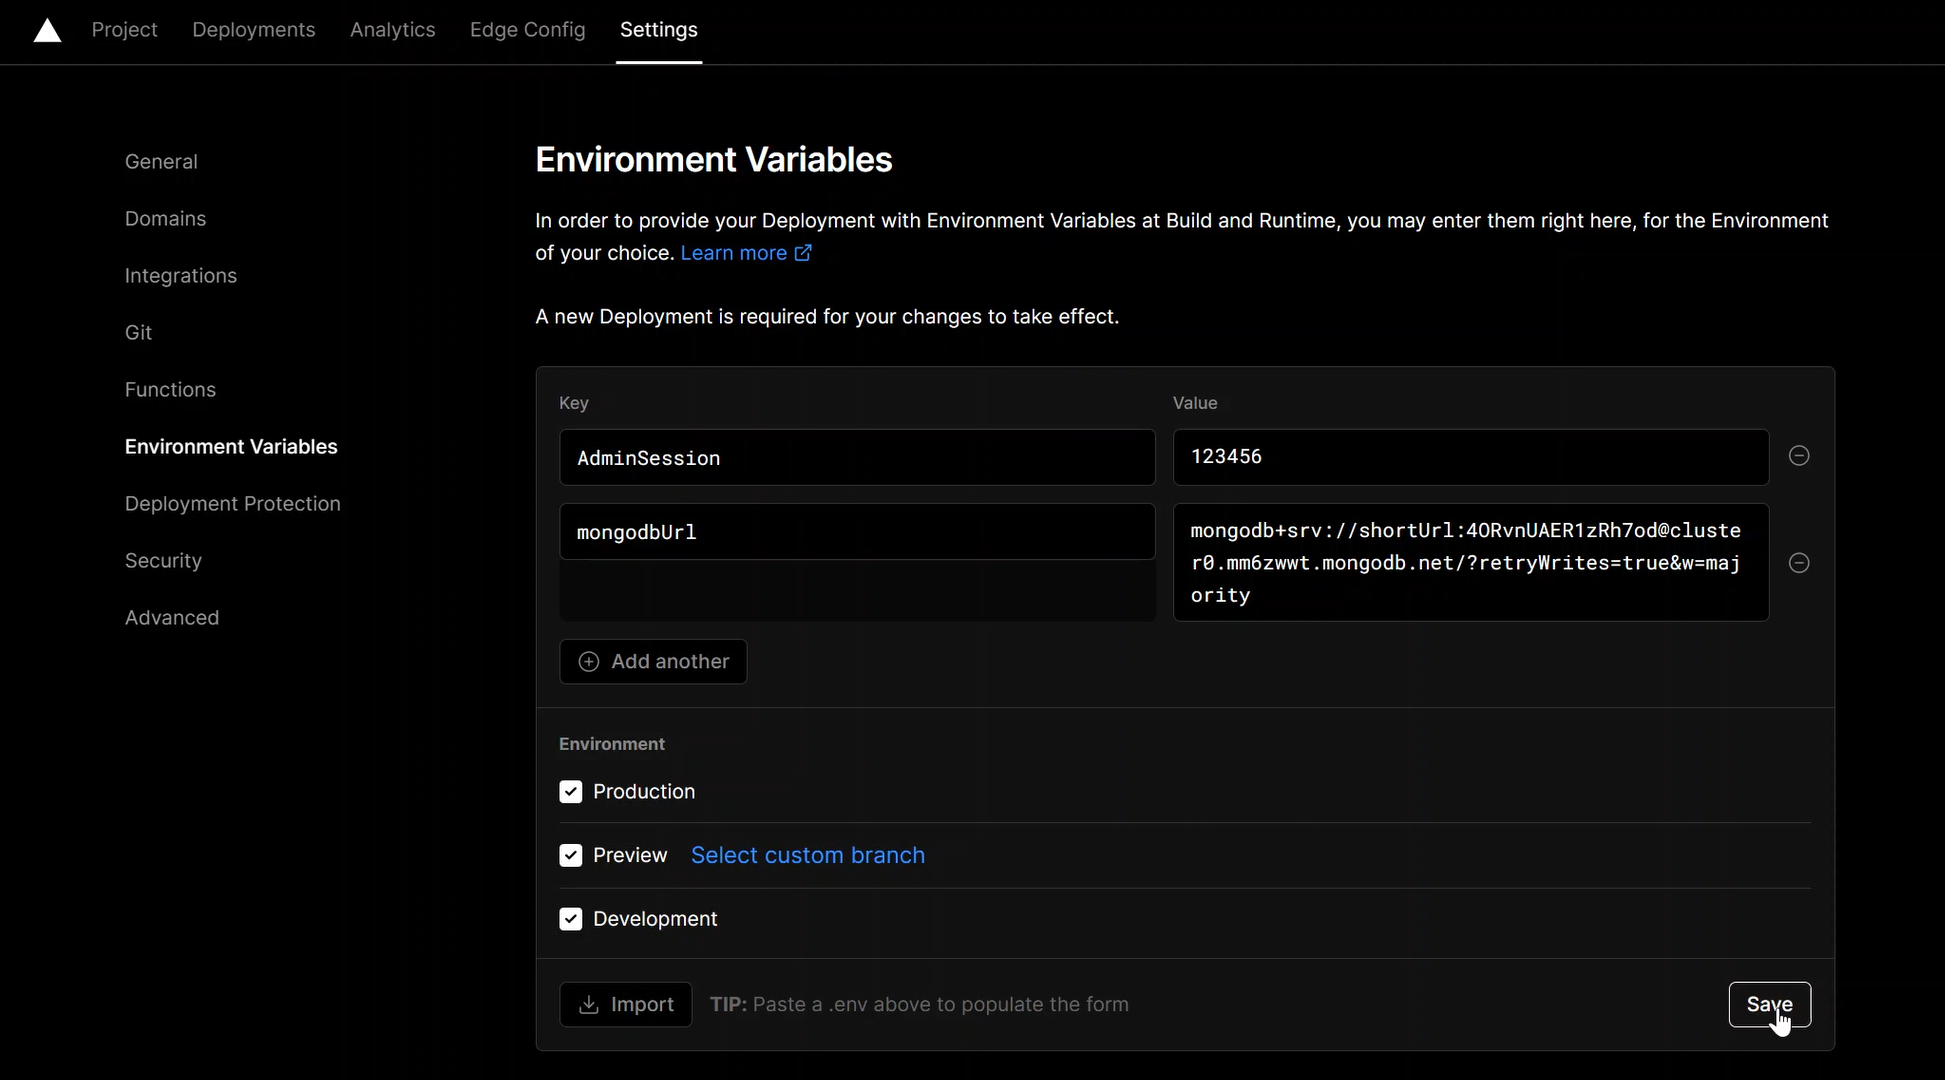
Click the “Environment Variables” button to open the Environment Variables Settings page.
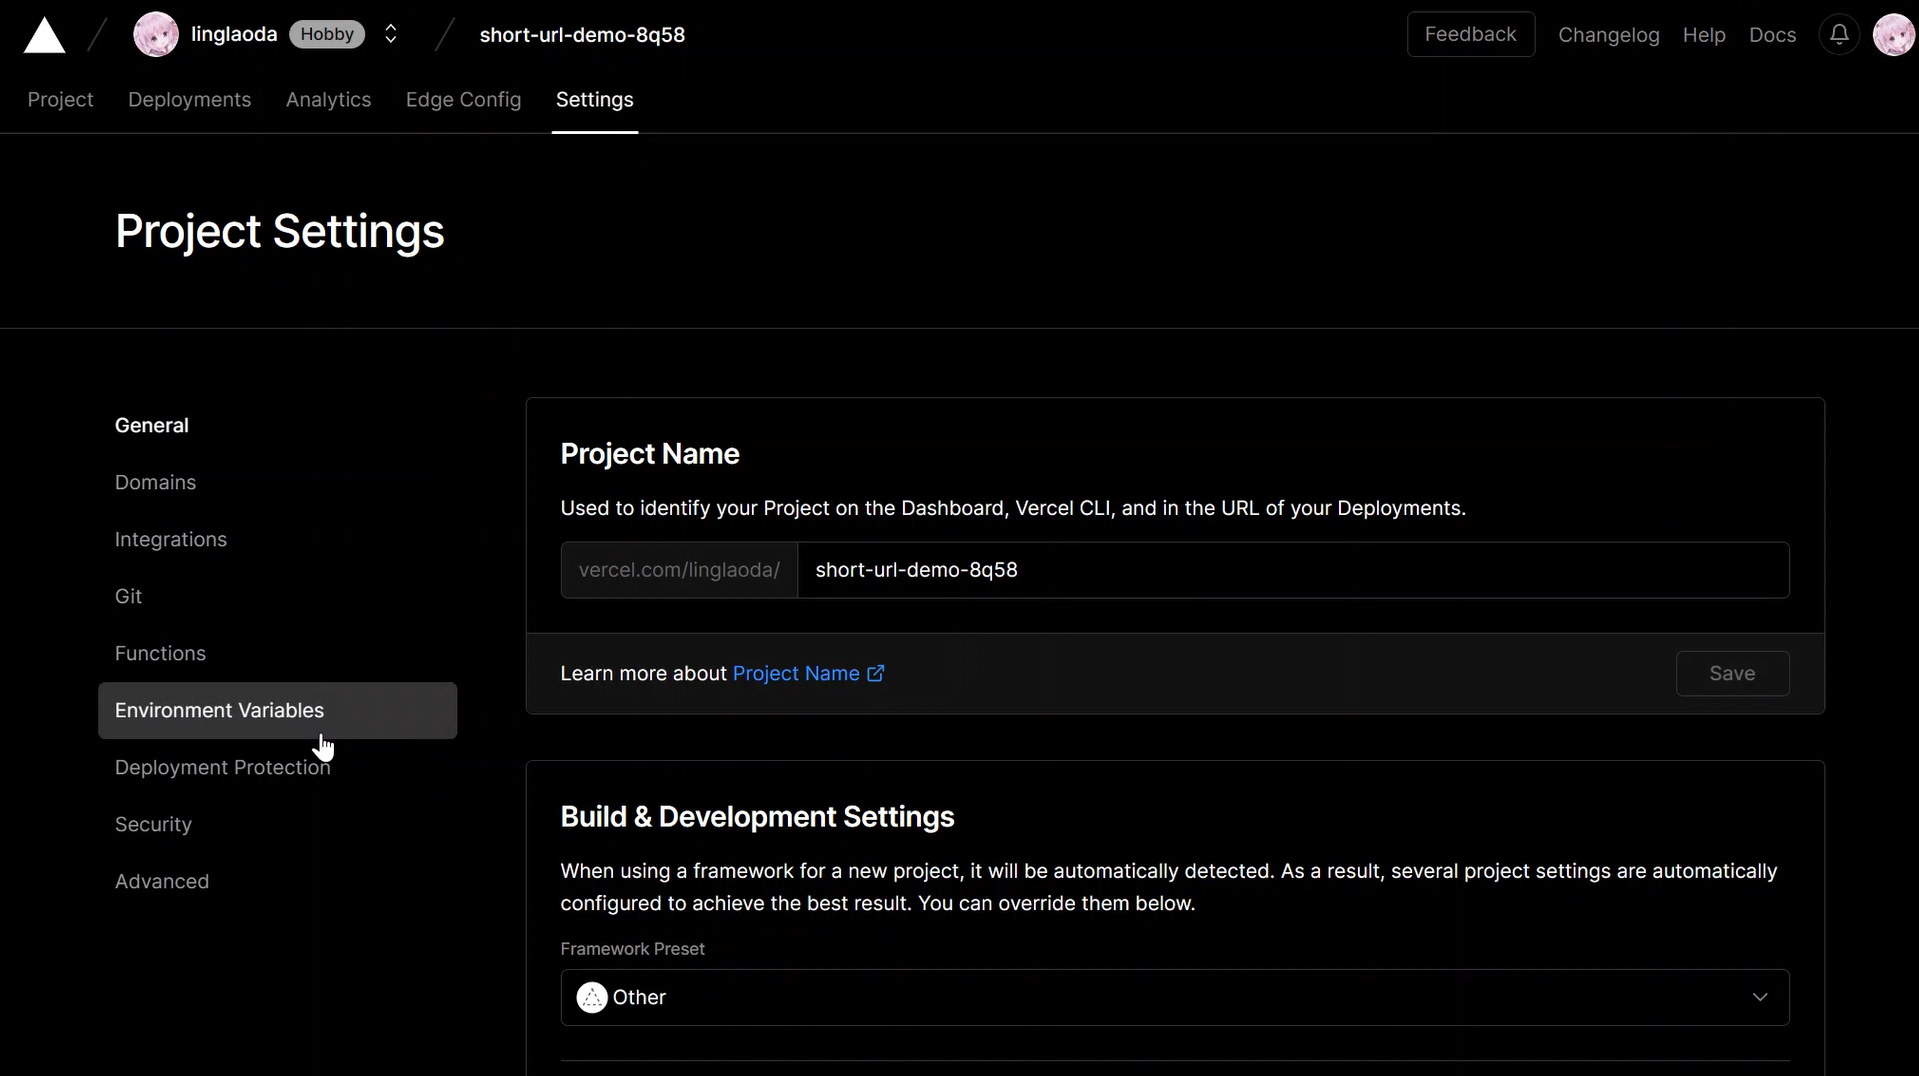
On the Environment Variable Settings screen, create a new environment variable according to the table below:
| Variable name | Value | Example |
|---|---|---|
| linkLen | An integer, optional, defaults to 8, is the length of the random string used to generate the short link | 10 |
| mongodbCollection | optional, Database Collection Database tables used to distinguish between different services (created automatically if they don’t exist) | Link |
| mongodbDB | optional, database name (will be created automatically if it does not exist) | MyService1 |
| AdminSession | The key used to log into the shortlink management page and request APIs. | 123456 |
| mongodbUrl | mongodbUrl, In the previous section get | mongodb+srv://xxx:xxx |
Check that the “Production”, “Preview” and “Development” options below are all selected.
Finally, click the “Save” button to save.
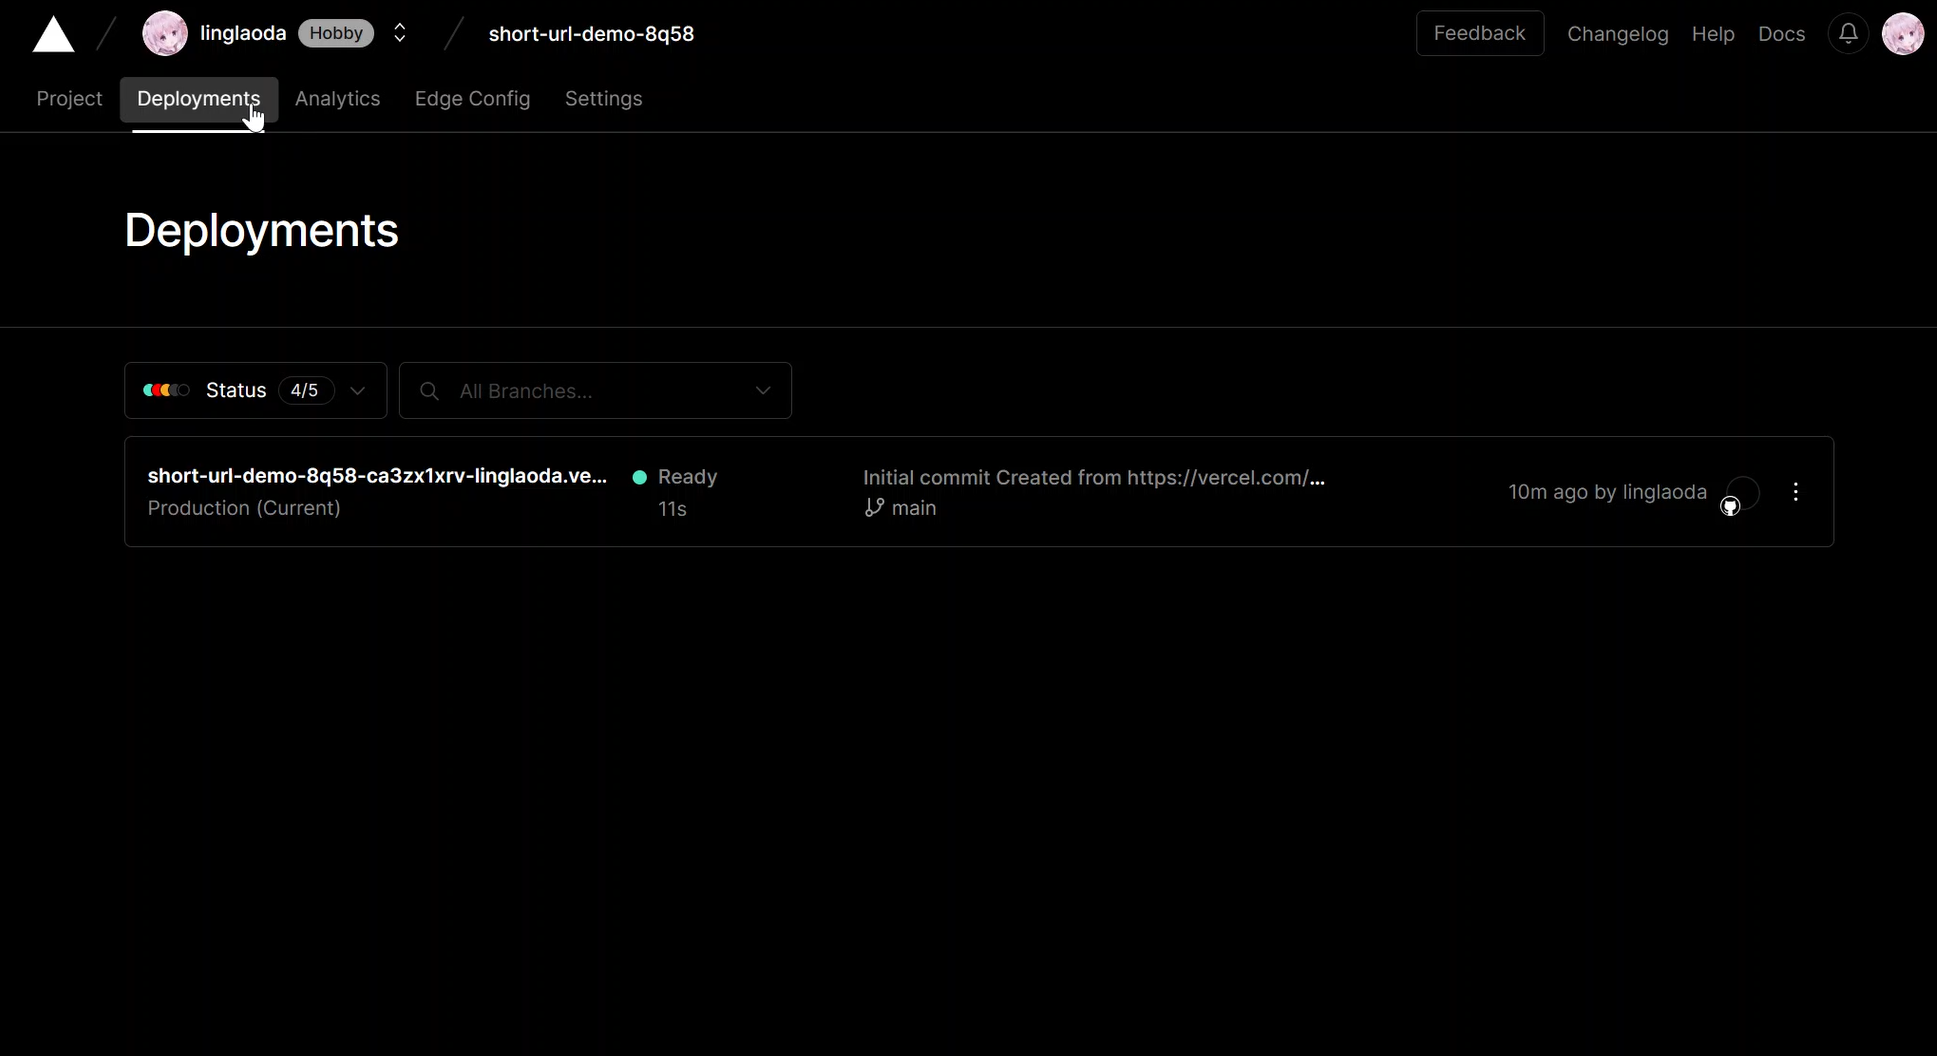
We need to click on the “Deployments” button in the navigation bar to open the Deployments tab.
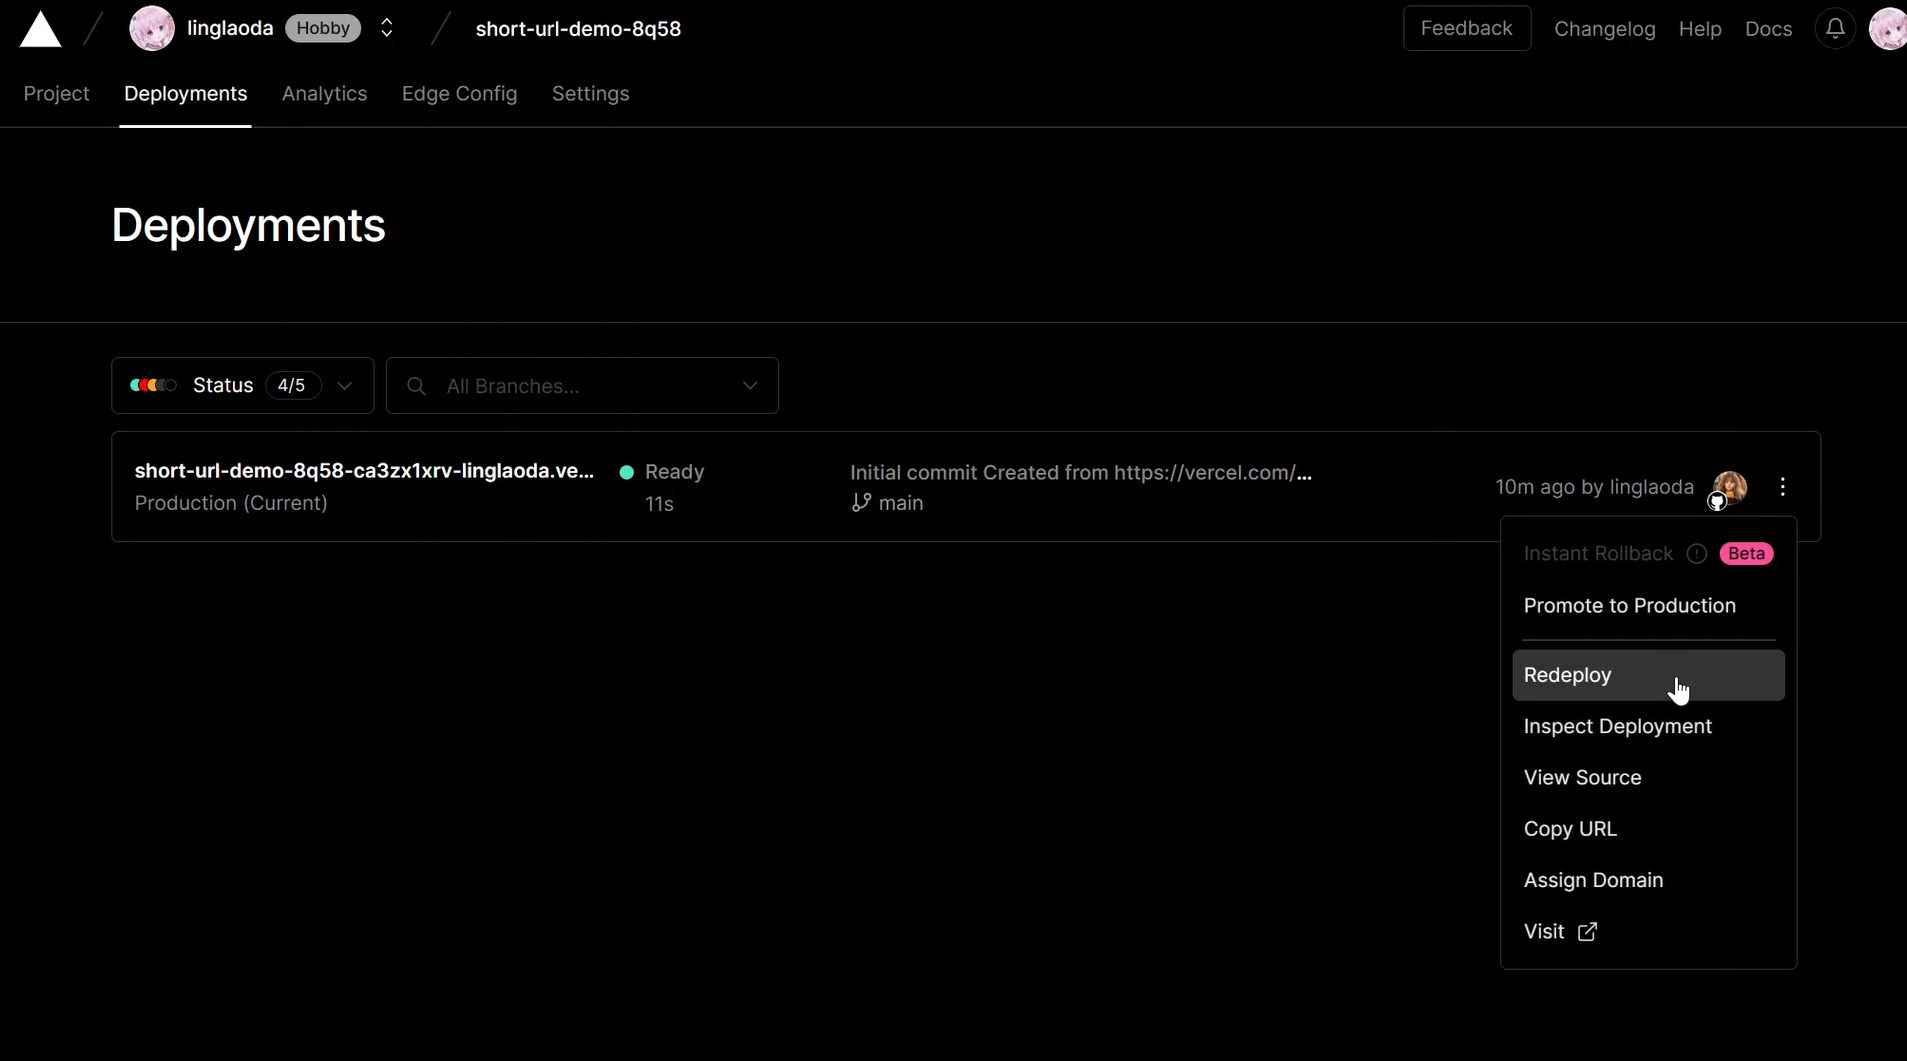
Click the “…” button to the right of the first record. button to the right of the first record to redeploy the project.
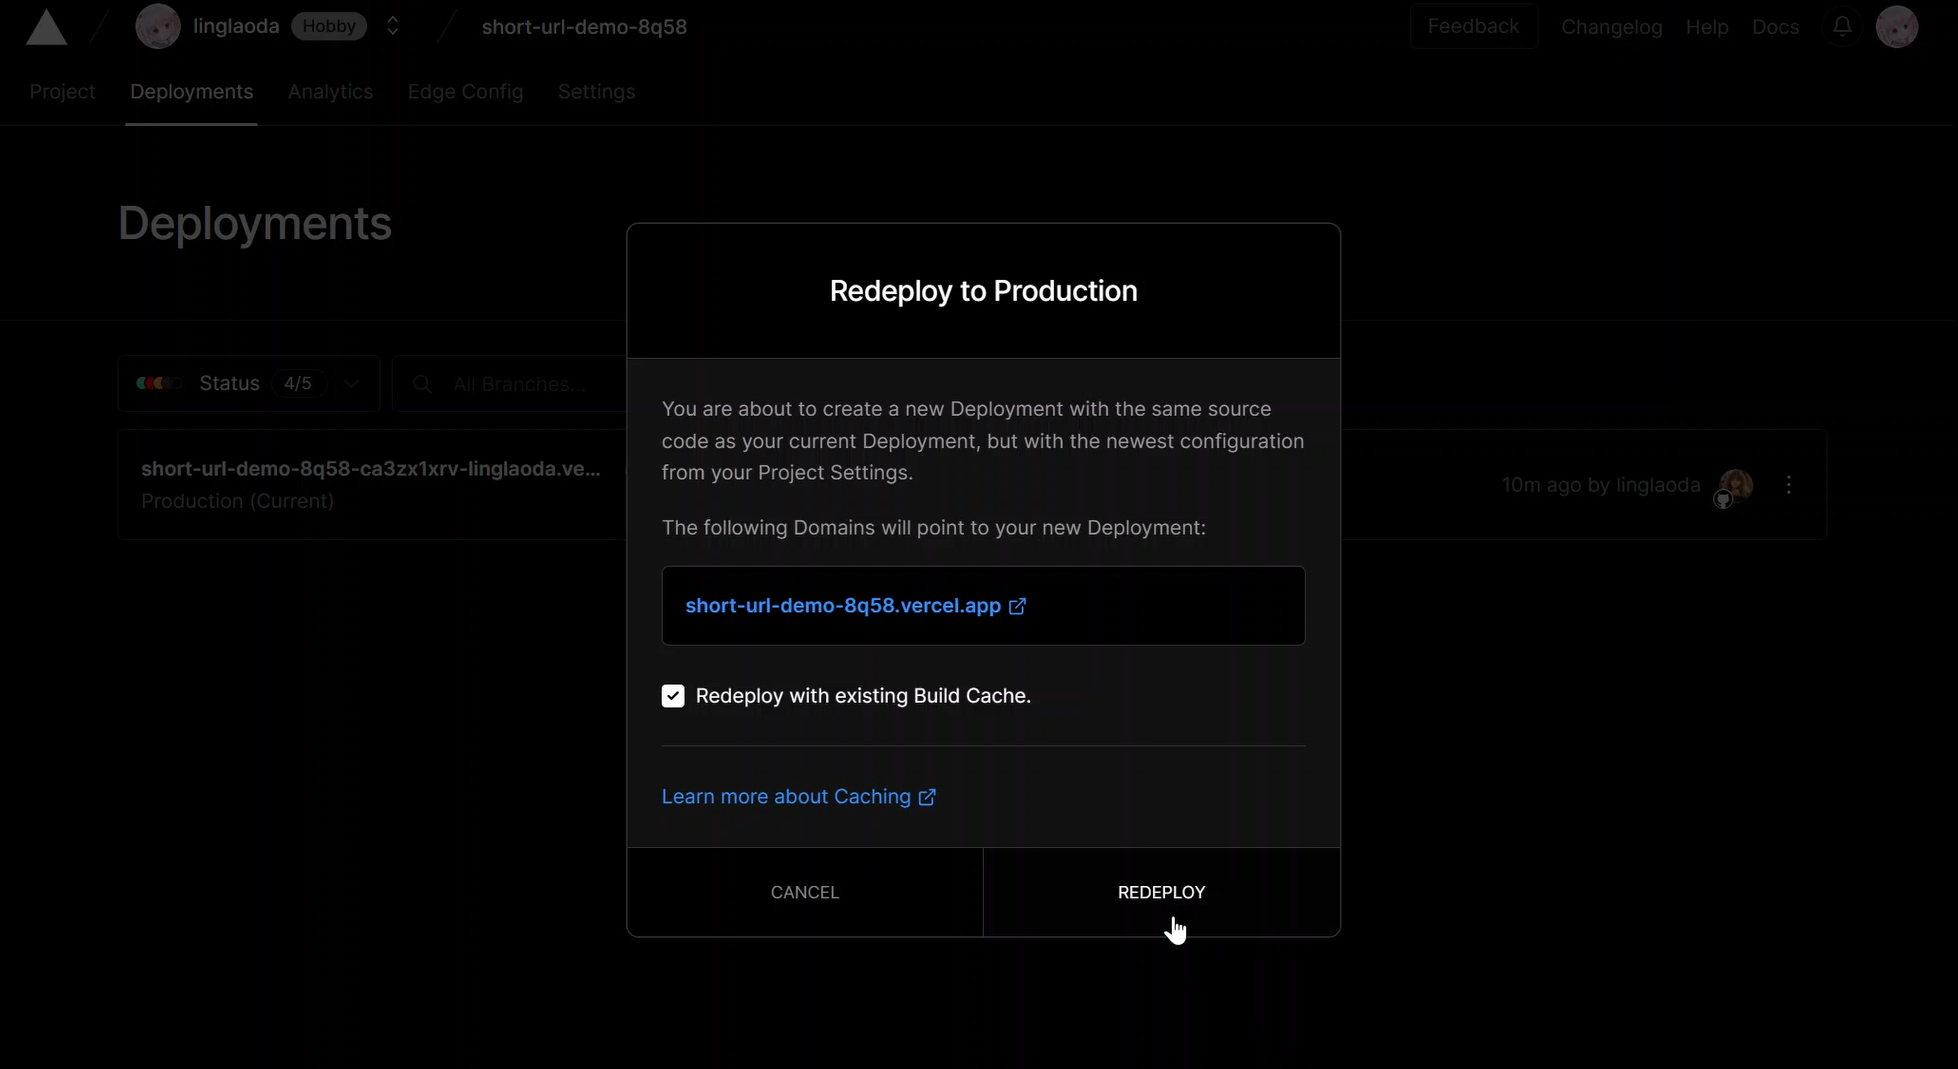
Click the “REDEPLOY” button to redeploy.
When you see this page, the service has been successfully deployed
You can access the administration page through the domain name + /admin/ (**admin must be followed by the / sign **), the login password is the value of “AdminSession” in the environment variable you set.
If you need to customize your domain name, you can bind it yourself on the setup page.